
April: sunshine, a little snow and a sweet strawberry banana ice cream recipe


“I glanced out the window at the signs of spring. The sky was almost blue, the trees were almost budding, the sun was almost bright.” 
― Millard KaufmanBowl of Cherries
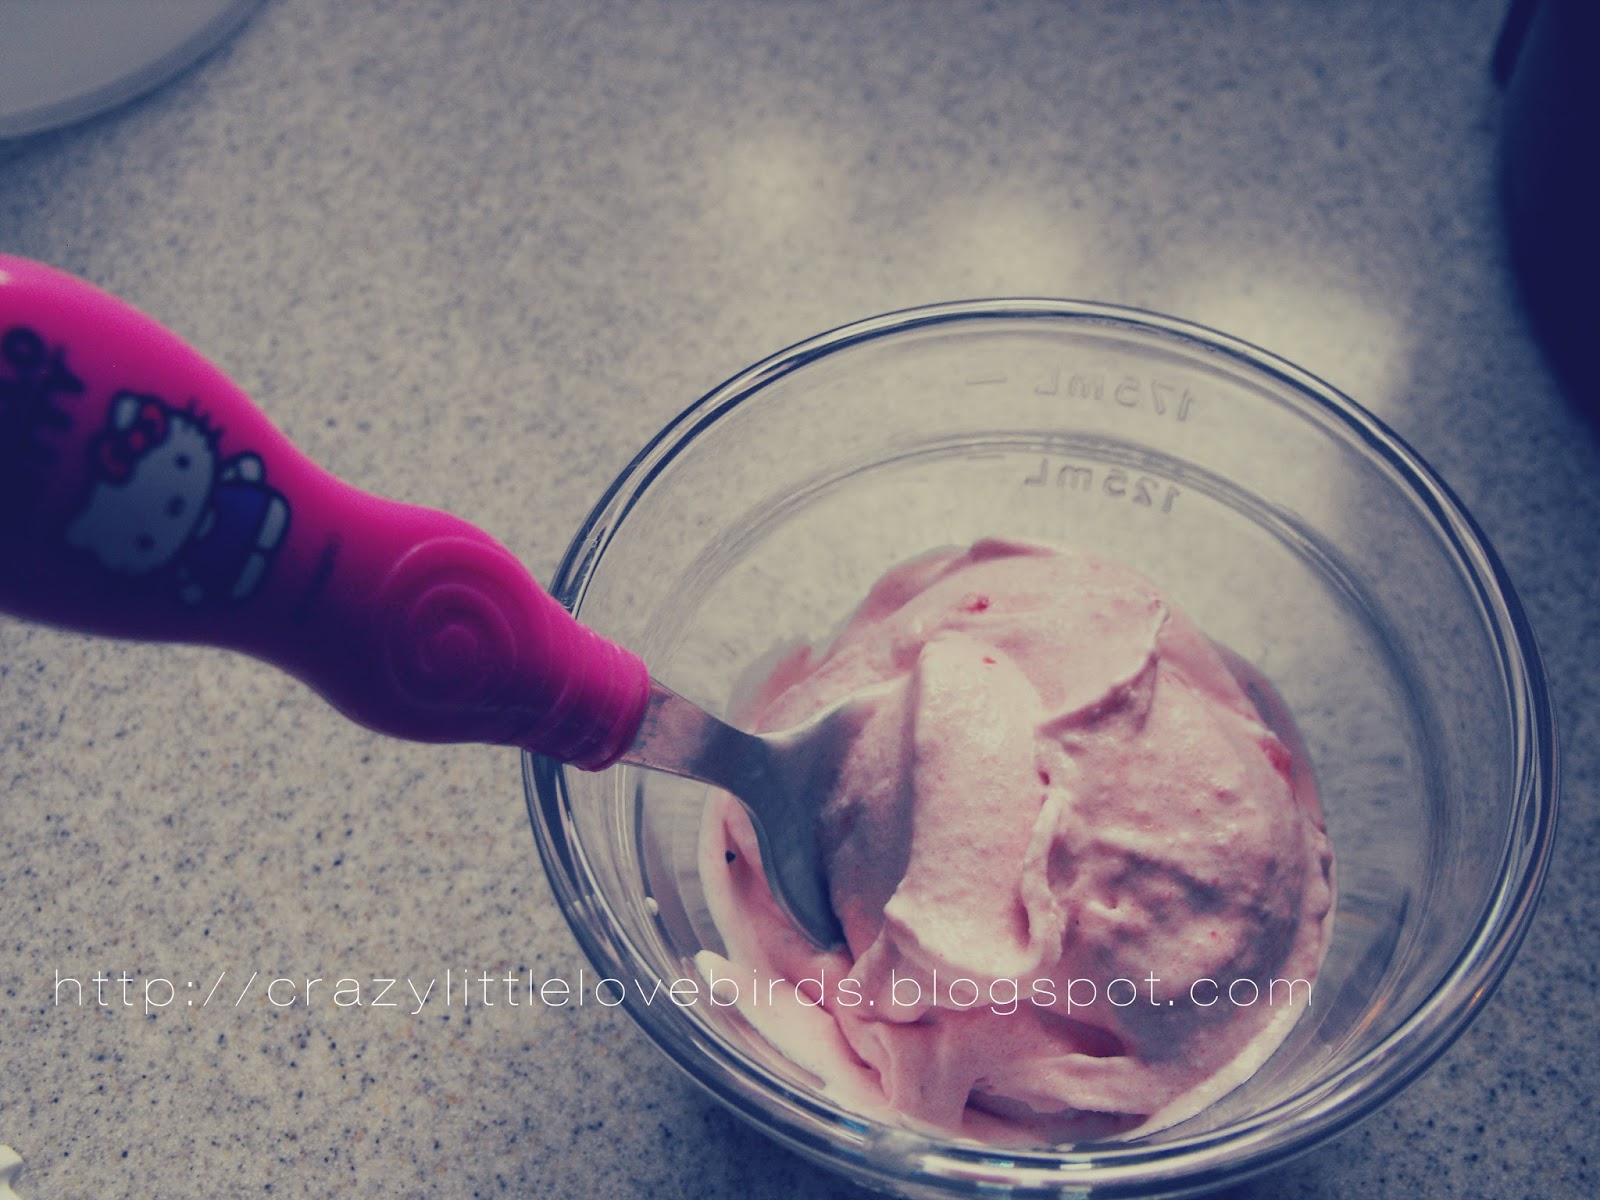
( sweet strawberry banana ice cream recipe at bottom of post)


So far April has brought us some sunshine and snow. The snow didn't stick around for too long. This afternoon it all melted away. We're thankful that it did. -I'm so ready for actual spring weather. I just want to dip my toes in some cold water and sit out enjoying the breezy afternoon weather. We absolutely love sitting out back on our porch. We enjoy grilling, reading, bubble blowing and just relaxing out there. -It's all just so lovely. 

Today I enjoyed my time indoors with my daughter. We played with legos, snacked on peanuts, ate sweet watermelon, and watched one of her favorite books on DVD. -A Snowy Day. It was perfect for the kind of weather we were experiencing. She hasn't stopped reminding me about her upcoming birthday. I tell her of course I haven't forgotten. It's approaching very soon. - April 7th and I'm thrilled. She's turning 3. Oh, how they grow so fast. -She'll always be my little baby.


Today when I had a little downtime I whipped up a quick and easy recipe for strawberry/banana ice cream. It's delicious! -Of course, our daughter wanted seconds. (Recipe below)


Recipe:
Sweet strawberry banana ice cream

1 1/2 cups of frozen or fresh strawberries. I prefer frozen.
1 banana- I also froze my banana in the freezer or you can just purchase some frozen bananas
3/4 cup of heavy whipping cream
Optional- You can add a few teaspoons of sugar.

Using a blender, first, add in strawberries and cream. Blend and occasionally stir with a spoon. Once it's smooth enough, add in your banana. Continue to blend until it's all smooth.  Once you’re finished add your ice cream to a container and place it in the freezer. We had a few scoops right out of the blender. - It was delicious! Enjoy your quick and easy strawberry banana ice cream.

Popular posts from this blog

Eco-Friendly Craft: Create a beautiful Winter Tree Scenery using Cardboard

  Learn how to create a stunning winter tree scenery using eco-friendly materials like cardboard in this DIY craft tutorial. Embrace your creativity and make a beautiful and sustainable decoration for the winter season. I am excited to be participating in the Sustainable Challenge along with a group of fellow bloggers. We will be sharing eco-friendly and sustainable craft ideas. I cannot wait to share my upcycled craft with you all. The theme for this month is Christmas.  For my project, I chose to repurpose some old cardboard. I believe that using household items in crafting is a great choice. Today, I am excited to share with you a beautiful Winter Tree scenery that I created using cardboard and a few other materials. If you're ready, I would love for you to join me and recreate it. Video tutorial Materials needed for your cardboard craft project: Cardboard Acrylic paint Tissue paper Holiday stencils Paintbrush Scissors Mod Podge Faux snow Paper tree template  Any decorations suc

10 Favorite Summer Quotes

As we approach summer... Let us enjoy these beautiful moments. Be thankful.  Be in the moment.  Embrace each day. Hug the people we love. Spread kindness. Say hello to a stranger. Dance to our favorite song. Play with our children. Cook a favorite meal. Create something new. Just be. Enjoy this list of my 10 favorite summer quotes below Do you have a favorite summer quote?  If so, I'd love to know what it is.  Leave a comment below!  May your days be filled with happiness. Pin it for later

Spring Refresh: Mini Clip Photo Frame Hack for Seasonal Decor

  Are you ready to spruce up your living space this spring? If yes, I have an easy and inexpensive DIY project for you. We will use one of Dollar Tree's mini clip photo frames to create a mini spring display that will complement your existing spring decor. This fun craft project can also be added to a tiered tray.  I'll provide you with a full list of materials below. Materials needed Mini clip photo frame Acrylic paint Decorative floral napkin  Mod Podge  Paintbrush Optional paper flower embellishment/magnet for hanging on the refrigerator Letter stamps and stamp ink pad Scissors Step One: Applying Paint to the Photo Frame Start by taking a paintbrush and applying paint to the frame. I chose to paint my frame white. It took me about two coats of paint to give it complete coverage. Set your frame aside and let it dry. Step Two: Cutting the Napkin Use scissors to cut out any floral designs from your napkin that you want to use in your design. I cut a few leaves and mini flowers

Archive

Show more

Labels

Show more

All content copyright 2010-2024

I kindly request that my photos and words not be taken or used without my permission. If you have any inquiries, please do not hesitate to contact me. Additionally, for more information regarding this blog, please refer to the disclosure policy tab located above. Thank you.