
Around here.- Lately..


Around here.- Lately...

- Planting a few seeds in the garden with my oldest. She's so excited about growing vegetables and flowers. We normally grow a few peppers, tomatoes, chives, and cilantro on our back porch. I set out a few decorative pots; so that when you step out from the kitchen you can grab your veggies and be on your way. :) I enjoy it and it's pretty simple. - I like simple things.

-I have a few perennials in my flowerbed. Some have started blooming and we bought a few seeds to add in. I've been pulling up a few weeds that decided to invade our yard. This weekend we mowed and cleaned up the yard a bit. - Spring cleaning begins!

-We enjoyed our trips to the library. We're super excited now that our daughter is reading on her own. The system that we had started using, has really impressed us. We do three daily reading lessons each day. Each lesson takes about 5-10 minutes. I'll include a link in the comment section to the book we've been using to teach our daughter to read if anyone is interested. Just let me know.

-This week our favorite book is- Counting in the Garden by, Kim Parker. It's such a beautiful book. Perfect for Spring and little ones are sure to want to paint their very own garden when you are done reading this lovely book. We have read it several times and it's definitely a book to take along during a park visit or hike. (It also includes counting).

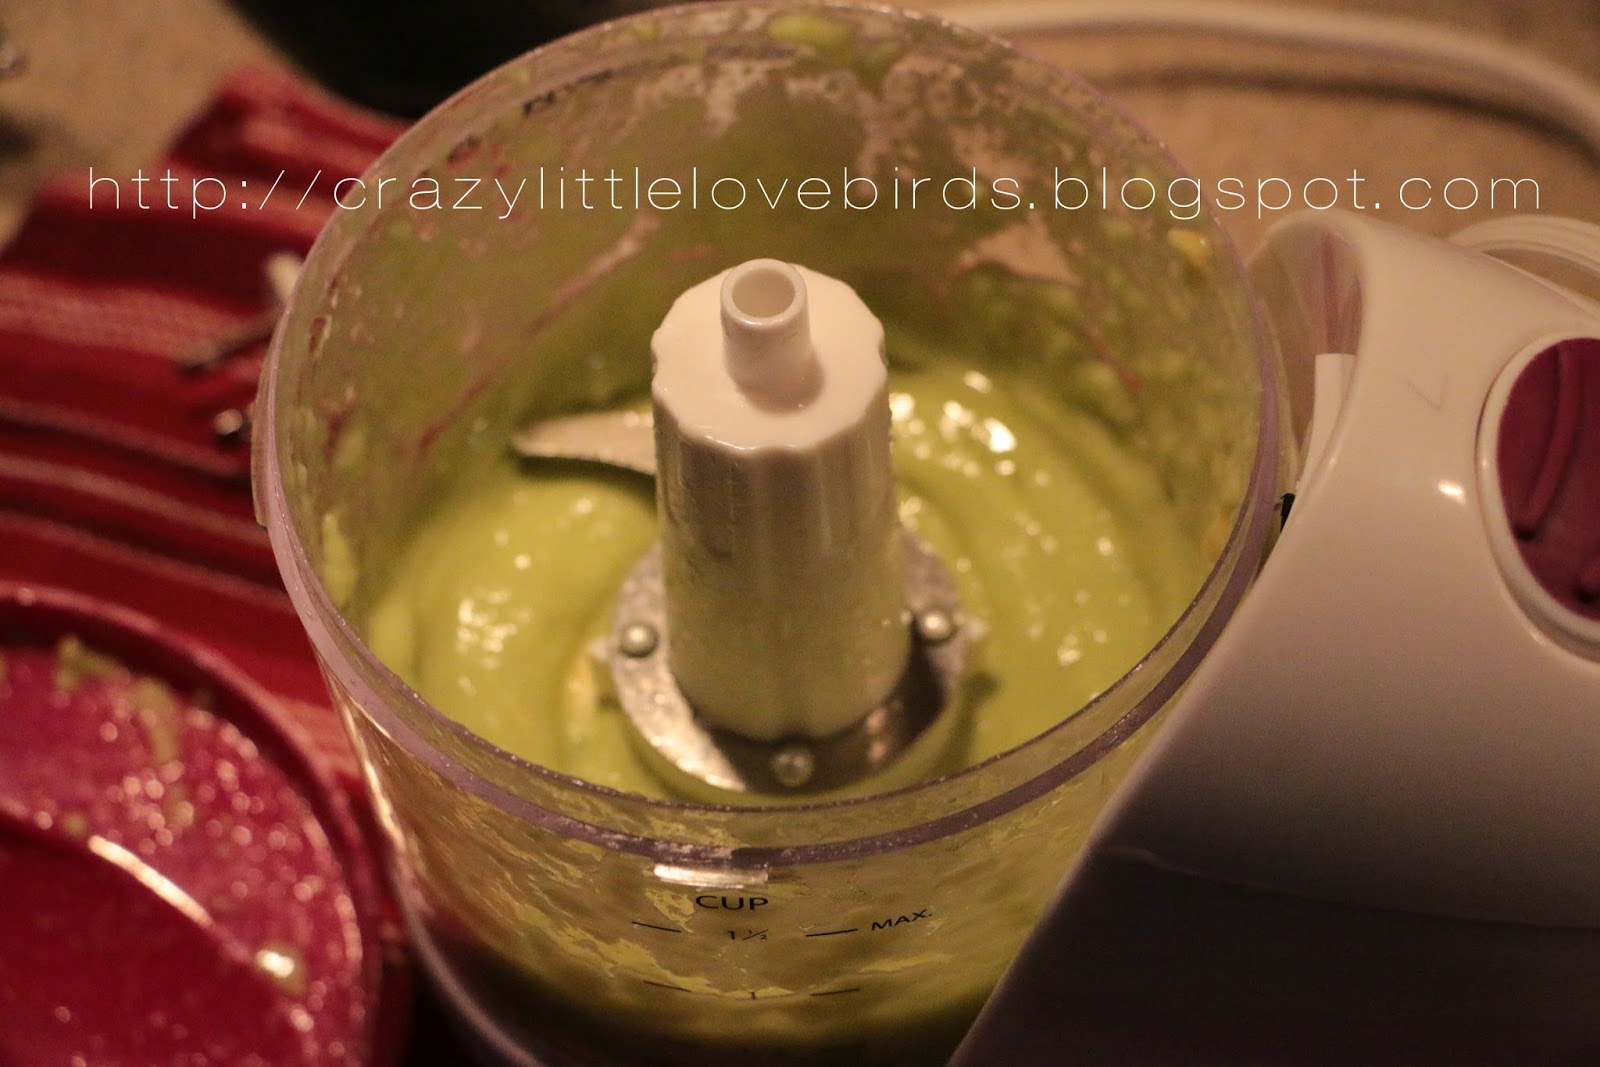
-I've been enjoying making baby food! The little one is still nursing, but we have started her exploring different foods. We space it out; making sure there are no allergic reactions to any new foods. Earlier in the week she tried sweet potato. And this weekend she had avocado. I normally make them in batches and place them in containers in the freezer.

-I've been enjoying healthy smoothies in the morning. Sometimes I'll add in a scoop of protein. Lately, I've also explored a few new recipes. - Baked avocado with egg and bits of bacon crumbled on top. Just add a few spices and bake it for about 20 minutes. - It's so delicious!

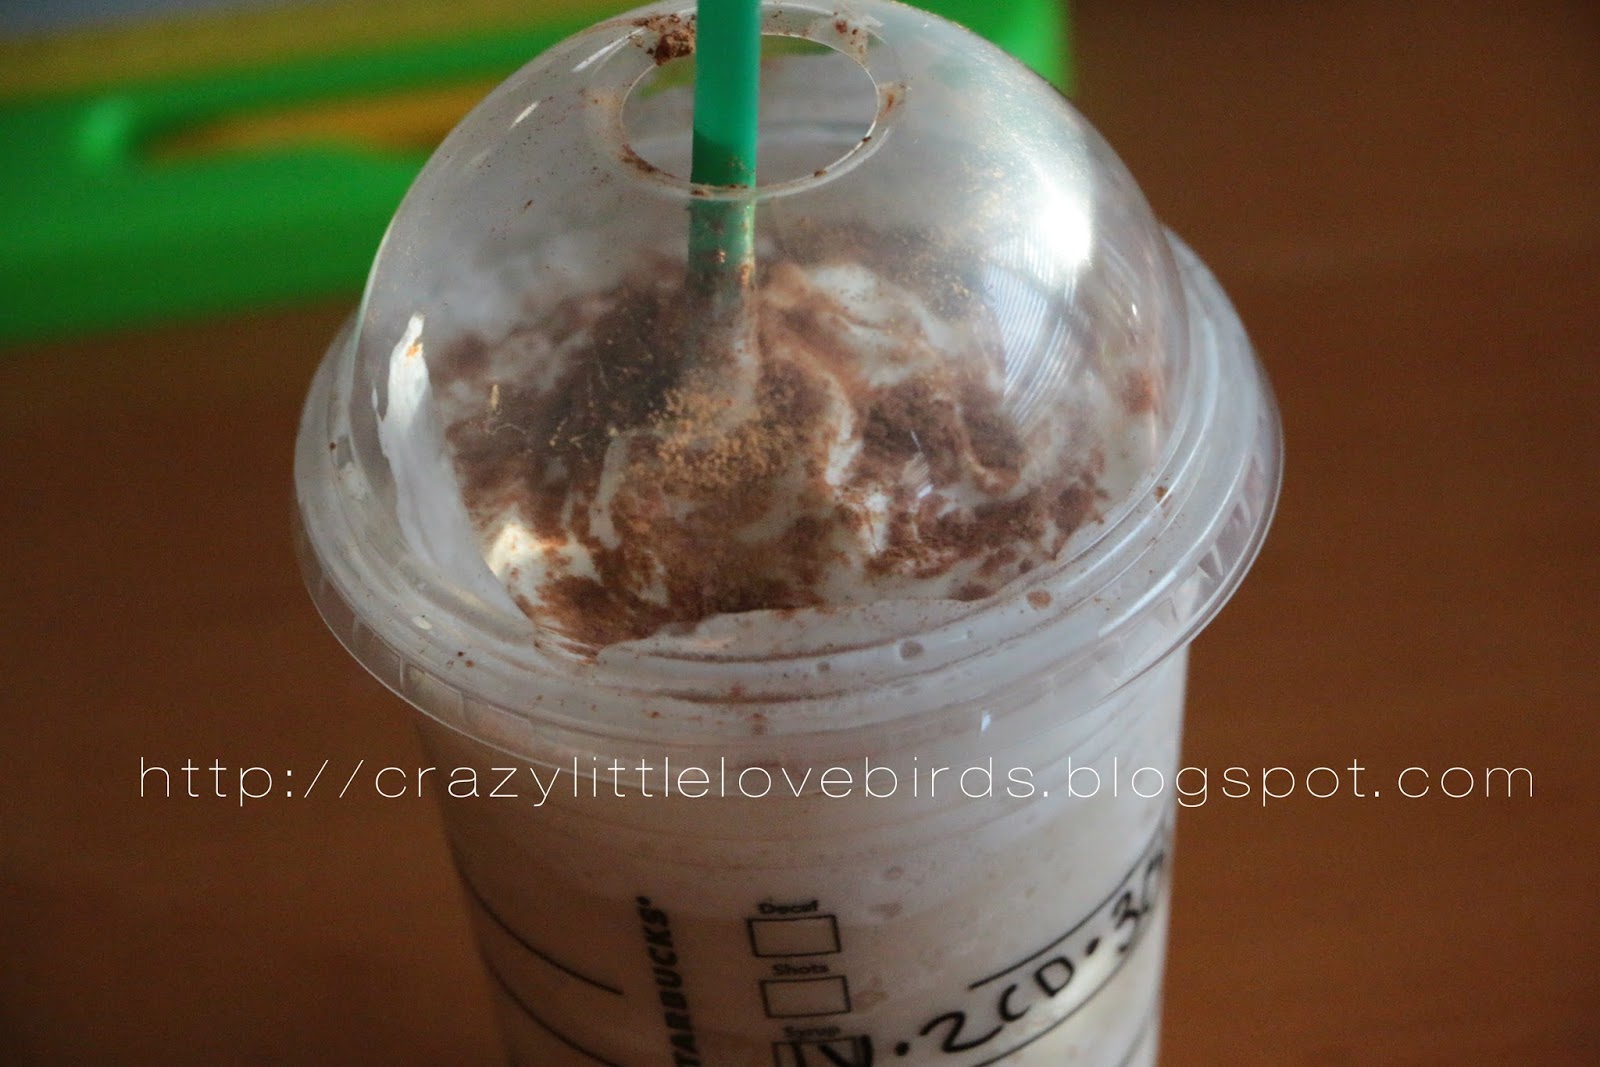
- I finally tried a drink off the Starbucks secret menu. I knew about these special drinks; I just never had enough nerve to ask for one. Silly me! - It was delicious and I'm sure I deserved one after such a long week.

-We've been walking more! We recently purchased a double stroller and now walks are a must. - Refreshing, cool, and just so much fun with the girls. We see horses, flowers, buzzing bees, and trains on our walks.


How are you enjoying your Spring days? I'd love to know. Let me know by leaving a comment below. And be sure if your visiting my blog for the first time to please leave me a link to your blog. I'd love to swing by and visit.

Hello, newest followers! I'm so happy to have you here and to all my lovely readers, I hope you all have a beautiful week ahead.

Comments

  1. Your days remind me so much of my own with a preschooler and a baby. I made my own baby food too, it was fun! So exciting to hear that your big girl is reading! Good for her! I'm glad she enjoys books so much. Thanks for sharing what you've been up to. It sounds like you're all doing really well. Take care and have a good week.

    ReplyDelete
  2. Jennifer, thank you so much! You're always so kind. And yes, we're happy that she enjoys books so much. I hope you all have a beautiful week.~

    ReplyDelete
  3. The baked avocado looks delicious! I've never tried a drink off of Starbucks' secret menu. How fun!

    ReplyDelete
    Replies
    1. Thank you! You know, I was just browsing pinterest and came across a few different recipes. I just had to try it and it was delicious. :) And you must try the secret menu!

      Delete
  4. Having a pretty good spring but it's spring everyday. I'm glad you all are able to get outdoors more and explore with the little one now too. Spring is always so much fun.

    I've never tried a drink off the Starbucks Secret Menu!!!

    ReplyDelete
    Replies
    1. Oh Dina, I know you are loving the fact or that spring time weather daily! I really must go out there and visit. - How fun would that be?! I'd love you meet you and your adorable son. I think we would get along great!! And the Starbucks secret menu is awesome.- Just type it in on pinterest and you will find so many different drinks. :)

      Delete
  5. Your words and pictures are always so calm and soothing. I wish my life looked a little bit more like this! And Starbucks has a secret menu? I'm definitely going to try ordering from it the next time I'm there! Sounds exciting!

    ReplyDelete
    Replies
    1. Tessa, you are just so sweet. Thank you so much. Yes, try typing it in on pinterest or even on your web browser and you will find a list of drinks on their secret menu. - I was unaware of this as well. I hope you are enjoying your time with your little one. :)

      Delete

Post a Comment

Welcome! I love hearing your thoughts and seeing what you’ve been up to. Please leave a comment or ask a question below—I do my best to respond to everyone! To keep the blog comments safe and inspiring, spam will be removed. Thank you for being a part of this blogging space!

Popular posts from this blog

Colorful Summer Flower: Recycled Paper Towel DIY

  Looking to bring a little sunshine into your space without visiting the craft store? This whimsical summer flower decoration makes great use of what you already have—think beads, pom poms, a humble paper towel tube, and a splash of acrylic paint. Bonus: it’s the perfect way to reuse an old frame and welcome summer in style! What You’ll Need: 1 paper towel tube (emptied, of course!) Acrylic paint (I chose a deeper pink) Craft pom poms (yellow makes a great center!) Assorted beads (medium for the stem, smaller for embellishing the petals) Foam letters (for your summer message) A reused frame (square or any shape of your choice) Scissors Hot glue gun Creating your summer flower decoration Cut the Tube and Shape the Petals :  Start by cutting the paper towel tube into four evenly-sized sections. Each section will serve as a petal. You should be left with four rings. Next, flatten each ring, then gently reshape it to form soft ovals. These will mimic delicate flower...

The Crazy Little Lovebirds Link Party 143

Welcome to The Crazy Little Love Birds Link Party #143! I’m so happy you’re here! This is a warm and friendly gathering where you can share your amazing ideas—whether it's tasty recipes, fun family activities, creative crafts, home projects, or any other joyful inspirations. If you love finding new DIY ideas and learning from other bloggers, you’re in the perfect spot! Happy Friday! I hope you all had a wonderful week. This week, the girls and I picked up our summer reading registration prizes at the library. Prizes included stickers, journals, and a book of your choice. Does your library have a summer reading program? We've been joining in on ours for a while now.  Today also kicks off the free outdoor concerts, which we may attend.   I hope you all have a wonderful weekend, and as always, thank you for joining the party each week. I love visiting each of your blogs and seeing what you've been up to. I'm excited to share this week's featured posts from party 142.  ...

Fun with popsicle sticks...and more!

Since my daughter and I didn't make it out to the library, we did our own craft, and story time. (Which in my opinion is the best) :) Today we made popsicle stick frames, with a message. It was so much fun. For this craft the materials you need are: -Popsicle sticks -Hot glue gun -Paint -Markers/crayons -Construction paper (and scissors) 1.Start off by making a frame out of your popsicle sticks. Glue the corners together. I went ahead and made a message on construction paper to glue on to the back of the frame. (You will have to cut it to fit the frame. 2.Once that is done, paint your frame. (Have fun with it!) My daughter had so much fun with all the different colors. :) 3.Now once that is finished make a T-shape out of two popsicle sticks. (This is for the stand for the back of the frame.) Glue both sticks together, and glue it to the back of the construction paper. You're all done! Now you have a cute popsicle stick frame, with a message! Enjoy~ ...

The Crazy Little Lovebirds Link Party 142

Welcome to The Crazy Little Love Birds Link Party #142! I’m so happy you’re here! This is a warm and friendly gathering where you can share your amazing ideas—whether it's tasty recipes, fun family activities, creative crafts, home projects, or any other joyful inspirations. If you love finding new DIY ideas and learning from other bloggers, you’re in the perfect spot! Hi all! I hope you're all well. We've been very fortunate to have a few days of rain. I'm not sure if I'll plant vegetables this year. I may just have some potted herbs on the porch. Did you start your garden? If so, what did you plant? As always, thank you for joining the party. I hope you all have a beautiful weekend.  Congratulations to our featured bloggers! Croissant S’mores + Campfire Fun Such a cozy little moment — the mix of croissants, chocolate, and firelight felt so playful and sweet. There’s a simple joy in gathering close, making treats, and letting the evening slow down around you. A tru...

DIY Upcycled Peanut Jars

Transform your old peanut jars into stylish, functional containers with these creative and easy DIY upcycling ideas. Learn how to repurpose your peanut jars and give them a new life with practical and decorative uses.   Materials needed: Two  empty peanut containers Two sheets of crafting paper tape scissors Start  by removing the old label on your peanut containers  Next, you'll want to wrap your crafting paper around your container.  If you find that it does not completely cover the container, cut out a single strip to use later. I found it easier to wrap my containers with my craft paper and make the marks I needed before cutting them to size.  Tape your crafting paper into the container and then make necessary cuts to the paper using your scissors. Once this is done, take the last piece of crafting paper that you cut out earlier and place it over the spot that you were unable to cover. Take some clear tape and apply it to the contai...

All content copyright 2010-2026

I kindly request that my photos and words not be taken or used without my permission. If you have any inquiries, please do not hesitate to contact me. Additionally, for more information regarding this blog, please refer to the disclosure policy tab located above. Thank you.