
Autumn: Pumpkin Pie Spice Scrub.- A DIY Post


Fall weather has arrived. It's been cool with a gentle breeze, and I'm excited about the cooler temperatures. However, during this season, my skin and lips often become dry.


With this simple scrub recipe, your lips and body will feel soft, smooth, and stay moisturized throughout the day. I love making my own body and lip scrubs.


Here's what you'll need:

- Pumpkin pie spice

- Coconut oil

- Sugar

- Measuring spoon (1 teaspoon)

- Small bowl

- Airtight container


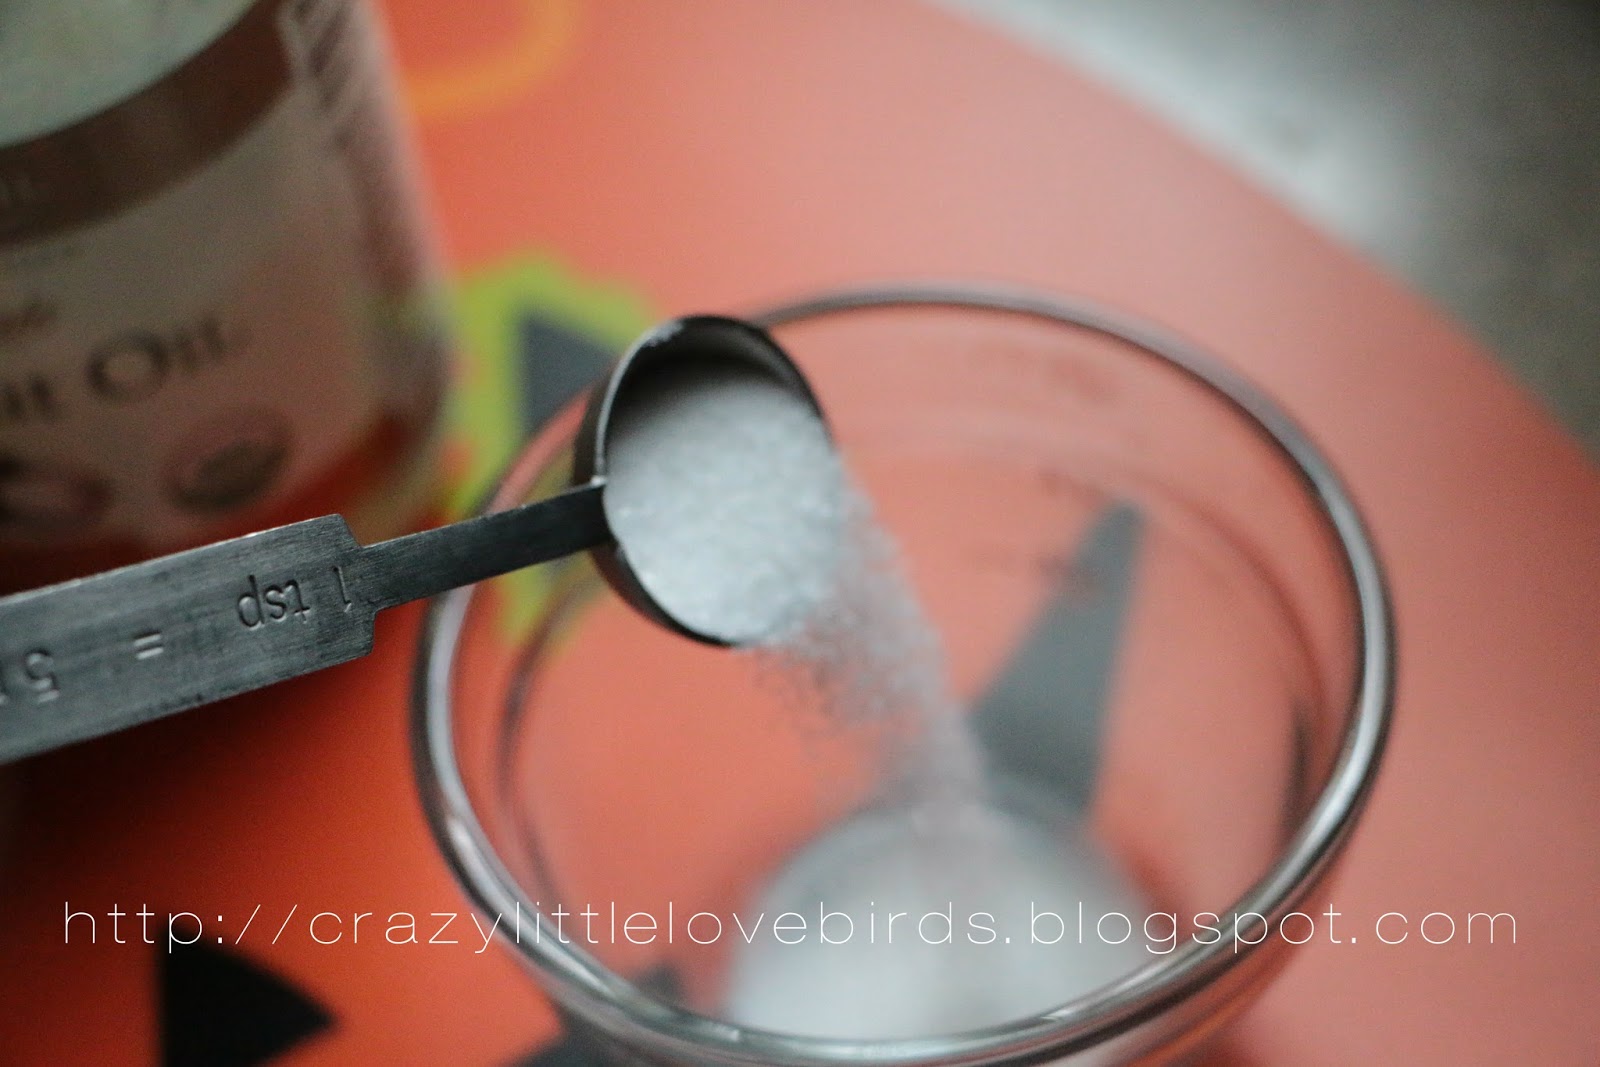
Start with 2 teaspoons of sugar.

Add 1 teaspoon of pumpkin pie spice and mix together.

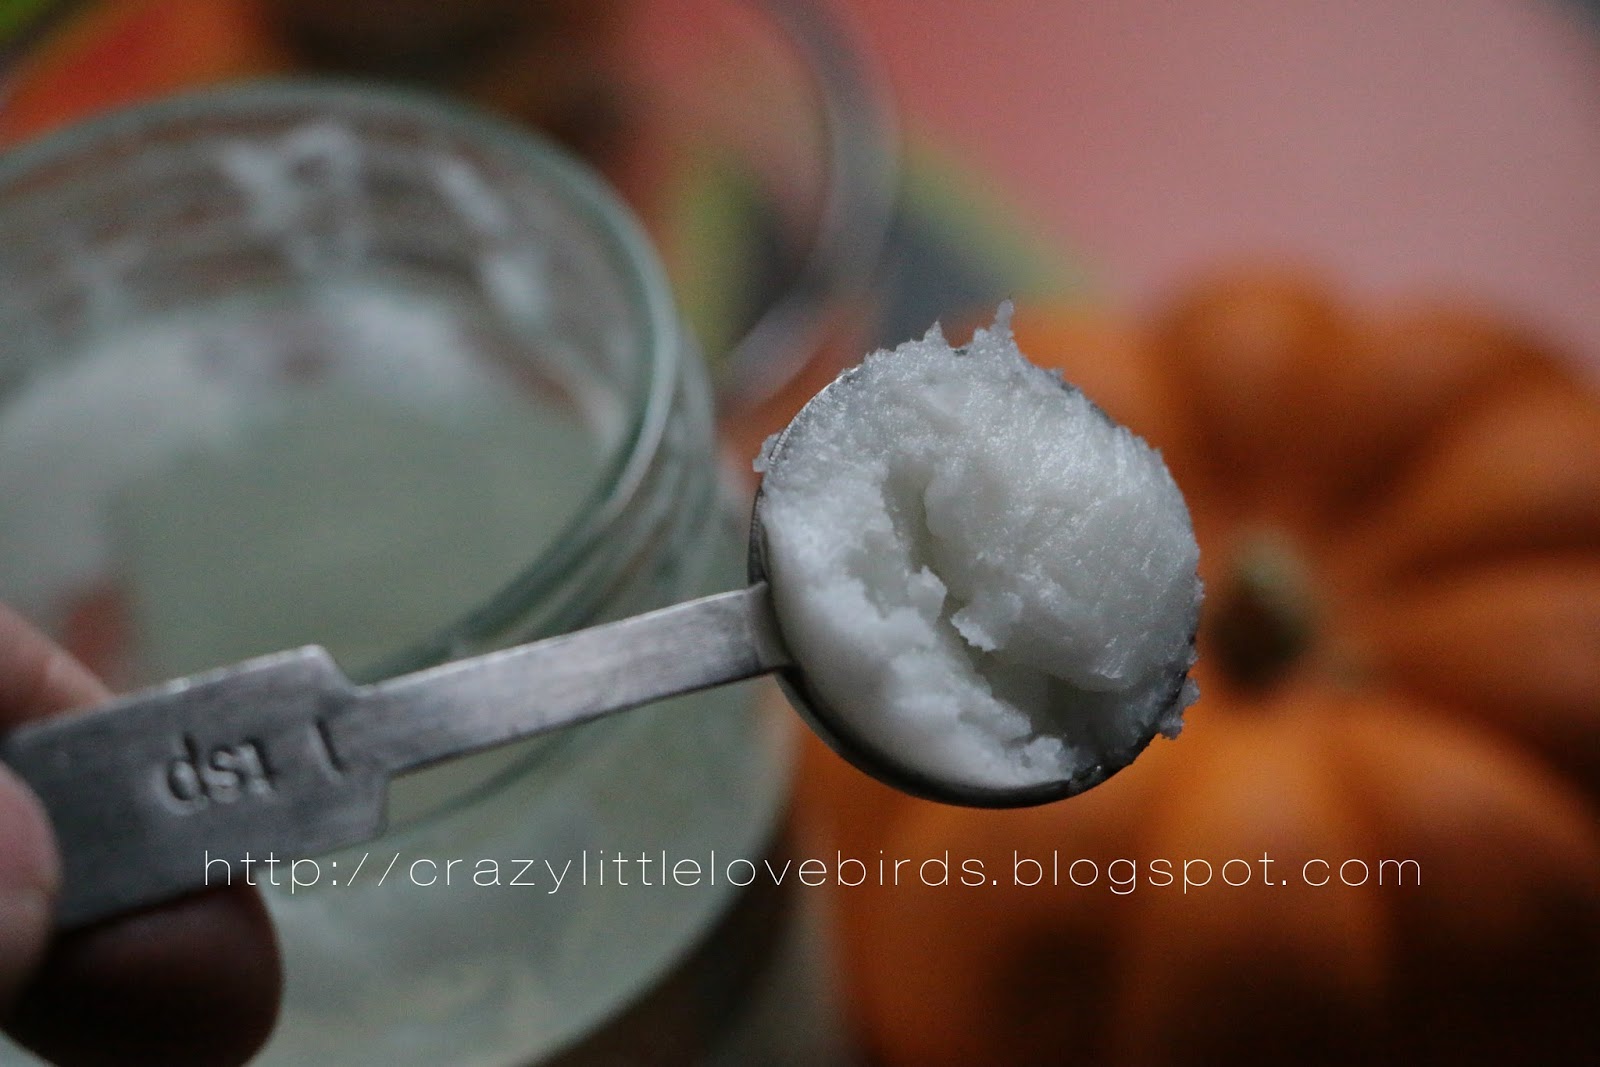
Combine 1 teaspoon of coconut oil with the sugar and spice mixture.

Mix all ingredients well. Now you're ready to transfer it to your airtight container.

With this recipe, you can make extra to use as a body scrub if you'd like. 


You're all done! 
Enjoy~


Pin/share for later


Comments

  1. I've never tried making my own scrub before. It sounds like fun to me. I use an apricot scrub on my face sometimes, but it's something I buy. Thank you for sharing this recipe, I will keep it in mind. I hope you're having a good week.

    ReplyDelete
    Replies
    1. Jennifer, yes you must give it a try. I enjoy making my own scrubs. Of course I make simple scrubs, but I love using them. I also have an apricot scrub I purchased. It smells amazing. Thank you for stopping by. :)

      Delete
  2. What a lovely scrub! So tempting to eat it :)

    ReplyDelete

Post a Comment

Thank you for taking the time to leave a comment. Your feedback is greatly appreciated. I strive to respond to every comment and welcome any questions. Additionally, I will visit your blog and leave a comment if you provide your name or blog link! ***However, spam or comments that do not offer valuable feedback will be deleted.***

Popular posts from this blog

How to Transform Glass Garlic Jars into Multi-Functional Pin Cushions with Storage

Transform your glass garlic jars into multi-functional pin cushions with storage by following this creative and practical DIY tutorial. You will learn how to repurpose these jars into stylish and useful organization tools for sewing or crafting supplies. Hello everyone! A while ago, I purchased some pin cushions from my local Dollar Tree and stored them away, completely forgetting about them. Today, while cleaning, I came across them and decided to use them with my glass garlic jars. I thought the glass garlic jars would be wonderful for creating multi-functional pin cushion storage jars. Materials Three pin cushions Glass jars (I'm reusing my garlic jars) Mod Podge Paintbrush Acrylic paint Sewing and craft accessories to add to each glass jar Adding Mod Podge and Paint to jars To give my jars a stained glass appearance, I combined my Mod Podge and paint. I used a paintbrush to add a thin layer of the mixture and then used a drying tool to dry the paint. I repeated this process for...

Transforming a Chocolate Box into a Beautiful Hanging Heart

Chocolates always have a way of making things better, don't they? In this project, we'll repurpose a heart-shaped chocolate box into a beautiful hanging heart decoration that you can proudly display for Valentine's Day. I'll provide you with a list of materials needed and guide you through the simple step-by-step process. So, get ready to give your leftover chocolate box a new lease on life! Materials One heart-shaped chocolate box Acrylic paint One sanding block Fabric heart garland (I purchased my fabric heart garland at Dollar Tree) Paintbrush Faux flowers and greenery Hot glue Twine or rope Scissors Floral cutters Prepping the box I used a heart-shaped box for my project, which had raised letters and hearts design. To prepare the box, I used a sanding block to sand down the lettering and design. It was easier than tearing the packaging paper off.  Applying Acrylic paint After sanding down the box and cleaning my workspace, I applied acrylic paint with a paintbrush. ...

DIY Holiday Decor: How to Make a Wintery Faux Foliage Bowl

Create a stunning DIY holiday decor with this step-by-step guide on making a wintery foliage bowl. Learn how to craft a beautiful centerpiece that brings the essence of winter into your home. Hi there, I hope everything is going well for you. Today, I want to share with you a simple upcycling holiday craft idea. The three main materials you will need for this craft are a bowl, a cork, and some wintery foliage. I used a cork lid from a salt bottle that I had kept, and a pink bowl I had bought a few months ago for just 50 cents. You can easily put this project together in less than 15 minutes, and it looks absolutely beautiful once it's displayed. So, if you're ready, let's start creating! Here's what you'll need One bowl (any size works, I am using a smaller bowl for my design) Wintery faux foliage Cork (I am reusing a cork from a salt bottle) Hot glue Floral cutters (to cut foliage to size) Pinecones (optional) Attaching the cork to the bowl To begin, turn your bowl...

All content copyright 2010-2025

I kindly request that my photos and words not be taken or used without my permission. If you have any inquiries, please do not hesitate to contact me. Additionally, for more information regarding this blog, please refer to the disclosure policy tab located above. Thank you.