
Learning is so much fun!

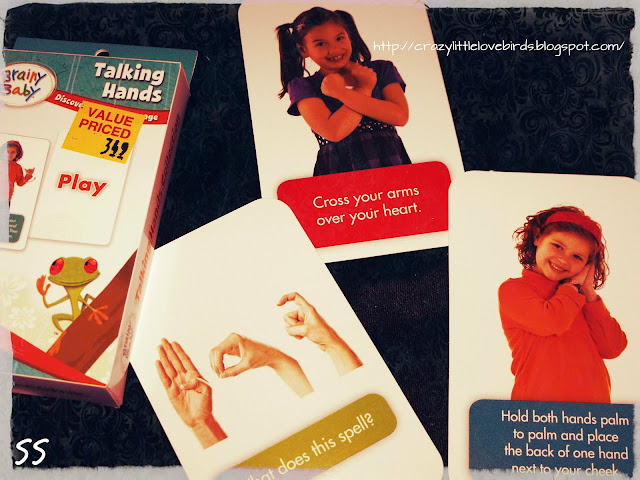
So since my daughter was an infant we started using sign language. When she was little, she was able to tell me "more mommy" using her hands, "milk", "eat", and "all done". It's amazing how they learn so quickly. It definitely came in handy. 


We have purchased videos flashcards, and books that provide different sign language techniques. Now that she is almost two, she has so many new words in her vocabulary, that it amazes us! We still continue teaching her words by signing them. The benefits of teaching your child sign language are endless. Here is an article I came across which states the benefits of teaching sign language: http://lifeprint.com/asl101/topics/benefits_of_learning_how_to_sign.htm Today we have also worked with color sorting. 


I've taken a few clear plastic cups, and written out each color on each cup. (I buy the big bag of pom poms from Joann’s craft store) I'm sure you can find them at any craft store. I start off with placing one pom pom of each color in the cups. After I have done that my daughter then places each color in its right cup. (It amazes me watching her learn, and just being able to teach her, I'm extremely thankful for that) What do you enjoy doing with your child? I love watching my daughter learn something new each day, she's my little sunshine!☼


Picture showing talking hands by brainy baby, showing sign language

A collection of craft pom poms

Comments

Popular posts from this blog

How to Transform Glass Garlic Jars into Multi-Functional Pin Cushions with Storage

Transform your glass garlic jars into multi-functional pin cushions with storage by following this creative and practical DIY tutorial. You will learn how to repurpose these jars into stylish and useful organization tools for sewing or crafting supplies. Hello everyone! A while ago, I purchased some pin cushions from my local Dollar Tree and stored them away, completely forgetting about them. Today, while cleaning, I came across them and decided to use them with my glass garlic jars. I thought the glass garlic jars would be wonderful for creating multi-functional pin cushion storage jars. Materials Three pin cushions Glass jars (I'm reusing my garlic jars) Mod Podge Paintbrush Acrylic paint Sewing and craft accessories to add to each glass jar Adding Mod Podge and Paint to jars To give my jars a stained glass appearance, I combined my Mod Podge and paint. I used a paintbrush to add a thin layer of the mixture and then used a drying tool to dry the paint. I repeated this process for...

Transforming a Chocolate Box into a Beautiful Hanging Heart

Chocolates always have a way of making things better, don't they? In this project, we'll repurpose a heart-shaped chocolate box into a beautiful hanging heart decoration that you can proudly display for Valentine's Day. I'll provide you with a list of materials needed and guide you through the simple step-by-step process. So, get ready to give your leftover chocolate box a new lease on life! Materials One heart-shaped chocolate box Acrylic paint One sanding block Fabric heart garland (I purchased my fabric heart garland at Dollar Tree) Paintbrush Faux flowers and greenery Hot glue Twine or rope Scissors Floral cutters Prepping the box I used a heart-shaped box for my project, which had raised letters and hearts design. To prepare the box, I used a sanding block to sand down the lettering and design. It was easier than tearing the packaging paper off.  Applying Acrylic paint After sanding down the box and cleaning my workspace, I applied acrylic paint with a paintbrush. ...

DIY Holiday Decor: How to Make a Wintery Faux Foliage Bowl

Create a stunning DIY holiday decor with this step-by-step guide on making a wintery foliage bowl. Learn how to craft a beautiful centerpiece that brings the essence of winter into your home. Hi there, I hope everything is going well for you. Today, I want to share with you a simple upcycling holiday craft idea. The three main materials you will need for this craft are a bowl, a cork, and some wintery foliage. I used a cork lid from a salt bottle that I had kept, and a pink bowl I had bought a few months ago for just 50 cents. You can easily put this project together in less than 15 minutes, and it looks absolutely beautiful once it's displayed. So, if you're ready, let's start creating! Here's what you'll need One bowl (any size works, I am using a smaller bowl for my design) Wintery faux foliage Cork (I am reusing a cork from a salt bottle) Hot glue Floral cutters (to cut foliage to size) Pinecones (optional) Attaching the cork to the bowl To begin, turn your bowl...

All content copyright 2010-2025

I kindly request that my photos and words not be taken or used without my permission. If you have any inquiries, please do not hesitate to contact me. Additionally, for more information regarding this blog, please refer to the disclosure policy tab located above. Thank you.