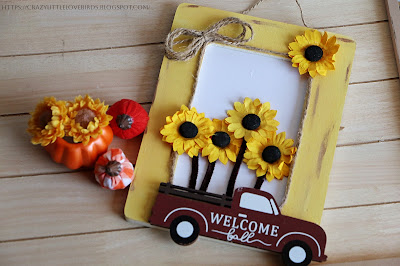
Greetings, lovely people! I hope you're all doing great. I'm thrilled to present to you a fantastic autumn-inspired picture frame art display that's easy to make. With just a handful of materials, we'll be painting, incorporating faux sunflowers, and any other fall-themed embellishments of your liking. Are you eager to create something new? Then, without further ado, let's get started!
DIY Fall Picture Frame Art Display
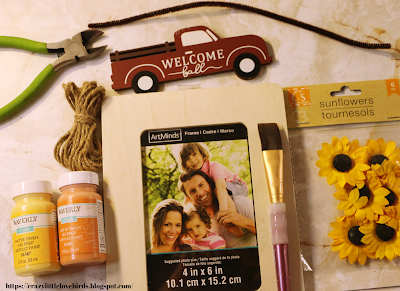
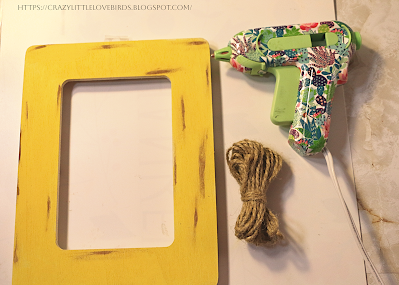
Materials that you'll need
One frame- Any size will do.
My frame is 4 in x 6 in
Paintbrush
Faux sunflowers-I'm using the paper craft sunflowers from Dollar Tree
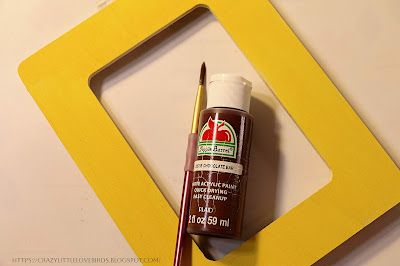
Acrylic paint -I'm using Waverly chalk paint yellow, and I decided to use brown acrylic paint
-You can use any paint of your choice
Twine or craft rope
Floral cutters
Scissors
Craft pipe cleaners- I'm using one in this craft
Hot glue or any other adhesive of your choice
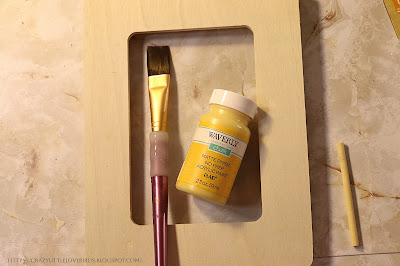
Applying paint to the picture frame
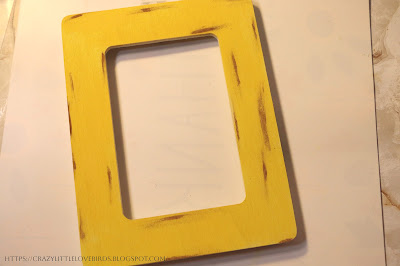
To begin, carefully remove the stock paper from inside the frame and set it aside for later use. Then, using a paintbrush, apply paint to the frame to achieve your desired look.
I enhanced my yellow paint by delicately brushing a few thin lines with my paintbrush.
Adding twine to the picture frame
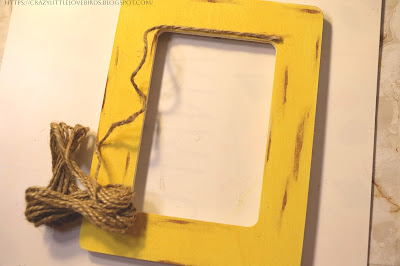
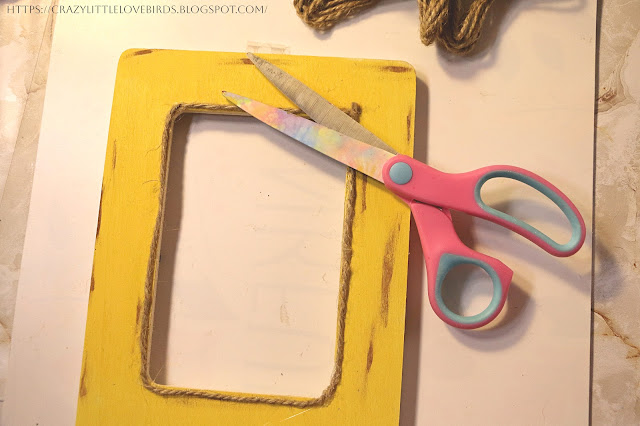
For optimal results, secure your twine with hot glue after applying your paint. Begin at the top of the frame and work your way around the inner section, attaching the twine as you go.
To secure your twine, trim the end with scissors and then apply a dab of hot glue to hold it down firmly in place.
Adding sunflower embellishments and truck decoration
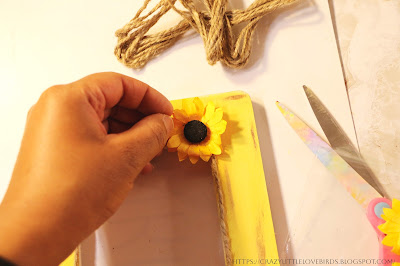
To enhance the look of your frame, select a sunflower embellishment and securely attach it to one of its corners using hot glue.
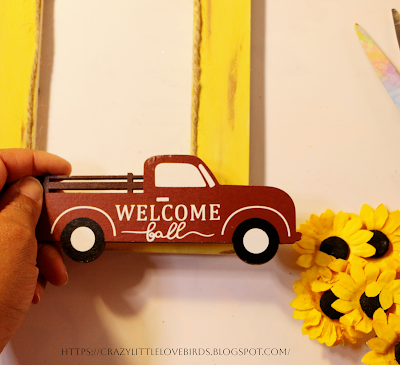
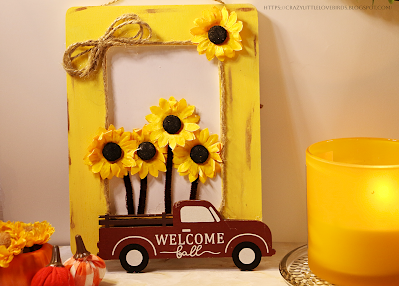
To create a fall-themed frame, simply use hot glue to attach your favorite embellishments to the bottom. I chose a mini red truck decoration that I found in the clearance section at Michael's. It adds the perfect touch to the overall look.
Reinserting stock paper into the frame
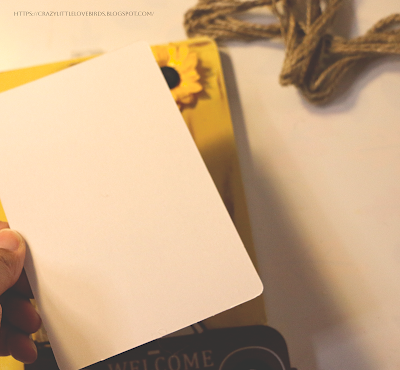
Don't forget the stock paper we removed earlier in this craft. Now is the perfect opportunity to insert it back into the inner section of your frame. Alternatively, you can use decorative stock paper cut to fit. For my project, I chose to reuse the same stock paper by flipping it over.
Cutting pipe cleaners and adding to the frame
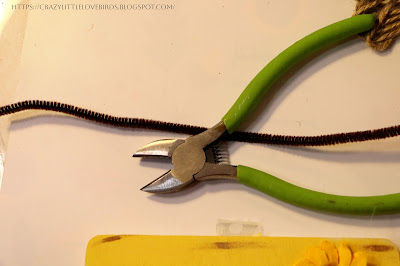
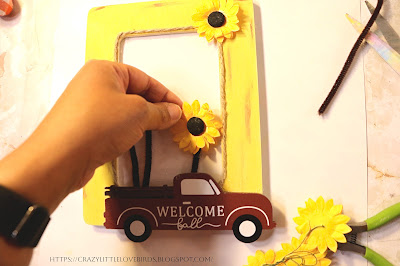
To create the stem for your sunflowers, use floral or wire cutters to trim your pipe cleaners. Determine the desired height of your sunflowers for your picture frame display and cut the pipe cleaners accordingly.
Attaching pipe cleaners using adhesive
For best results, use hot glue or any other adhesive for attaching your pipe cleaners to the interior of your frame.
Attaching paper flowers to pipe cleaners
It's time to attach your sunflowers to the stems you had glued down earlier.
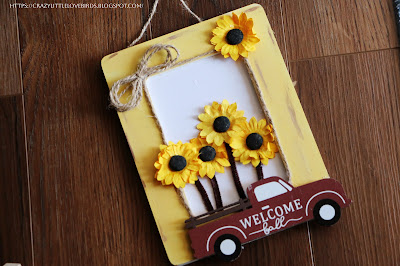
Simply attach a strand of twine to the back of your frame using hot glue after attaching your sunflowers to easily hang your art display.
Congratulations, you have finished! As a final touch, I've included a twine bow at the opposite corner of my sunflower.
I am grateful to all of you who joined me for this craft session. Remember to explore my other blog for additional DIY crafts.
You might also enjoy these fun Autumn craft posts
Create an Easy Fall Sign: DIY Tutorial with Faux Leaves and Thankful Design
Fall Crafting Inspiration: My Favorite DIY Projects
Pin Share Save






Really cute and you never seem to run out of creative ideas!! Thanks so much for linking up at the #UnlimitedLinkParty 125. Pinned.
ReplyDeleteDee, thank you! I recently ran out of ideas, and I really had to step back and think about what I was going to create, haha. Sadly, It does happen. But it didn't take long before I knew what to create. Thank you so much for pinning my craft. :)
DeleteThat's hard to believe that YOU ran out of ideas :)
Delete:)
DeleteUsing the pipe cleaners was a wonderful idea Stephanie! I would not have thought of that one. I love using items from Dollar Tree. We do not have a Michael's close to where I live, only Hobby Lobby. Gosh, it has been years since I set foot inside the store. Maybe I should check out what they have these days. Although, I am trying to use up what I have around here before I think about new. You always have so many wonderful ideas.
ReplyDeleteCara, aw thank you. Yes, I keep pipe cleaners around because of my girls.-- They love using them to create things. I've been trying to reuse items in my craft room. I looked in there the other day and was amazed at how much was in there, haha.
DeleteOh my goodness; that is so cute!!
ReplyDeleteJoanne, thank you so much. 😊
DeleteThis turned out so nice!
ReplyDeleteDonna, thank you so much. I always appreciate the feedback. :)
DeleteThis is super cute! I love the color yellow so it totally grabbed my eye. You used so many great techniques. Thanks for sharing at the Home Imagined link party. XO- MaryJo
ReplyDeleteMaryJo, thank you so much. I really appreciate it. I'm so happy that I decided to use the yellow in this craft. I wasn't sure what color to use at first. Sounds like I made the right choice! :) Thanks so much for stopping by.
DeleteThis is darling! And I just love the yellows. Pinning. :) Thank you for sharing this post at the Will Blog for Comments #4 linkup. See you again next week!
ReplyDeleteJennifer, thank you so much. I really appreciate it. :)
DeleteThis is such a fun and adorable little sign. I would have picked the truck as well. Thanks so much for sharing this post in the link party last week. It will be a feature this week. #HomeMattersParty
ReplyDeleteDonna, thank you so much! Always happy to share with all of you. :)
DeleteThis is adorable, what sweet summer art. Thank you for sharing at Handmade Monday :-)
ReplyDeleteJulie, thank you! 😊
DeleteThis is so cute! I love the sunflowers you added as well as the little truck.It's perfect for back to school weather. Thank you for sharing this post on the Home Imagined Link Party.
ReplyDeleteThank you. I appreciate it. 😊
DeleteSuper cute and creative! I love the sunflowers. Thank you for linking up at Tell It To Me Tuesday. I hope to see you again this week.
ReplyDeleteVisiting again to say thanks so much for linking up at #IMadeItMondayLinkParty 27. Pinned again.
ReplyDeleteDee, thank you. 😊
DeleteSO pretty! I love how you flipped a plain picture frame into 3D art, sunflower-style! The perfect fall touch!
ReplyDeleteThank you! You are always so kind. I'm glad you enjoyed my fall frame decoration. I enjoyed putting this craft together. Thanks for visiting. ♡
DeleteOh this is so CUTE! Love the colors! Visiting from SSPS
ReplyDeleteAmy, thank you so much!
DeleteSuch a sweet frame and perfect for the season.
ReplyDeleteAmalia
xo
Amalia, thank you so much. ♡
DeleteVery cute project Stephanie. A 3 D effect is pretty awesome. thanks for sharing at Love Your Creativity. Happy new week ahead.
ReplyDeleteLinda, thank you very much. Glad you enjoyed it. Thank you for visiting. 😊 Have a great week ahead.
Delete