
Exploring, Baking and more.

“Let Nature be your teacher.” – William Wordsworth


This weekend: We explored the garden. Searching for worms, beetles, and what other interesting insects we came across. Our daughter caught a few with her insect net and placed them in her bug catcher. Soon after exploring with her magnifying glass, we released these tiny critters back where they belong.

 
We also enjoyed our time exploring flowers. Up close and personal -using the magnifying glass. We discussed the different shapes, textures, designs, and more.


In my garden: Flowers are bloomed, bees are happy-buzzing around and hummingbirds stop in for a visit.


In the kitchen- My husband decided to make a few donut balls.- Warm and iced over with a sweet delicious frosting.

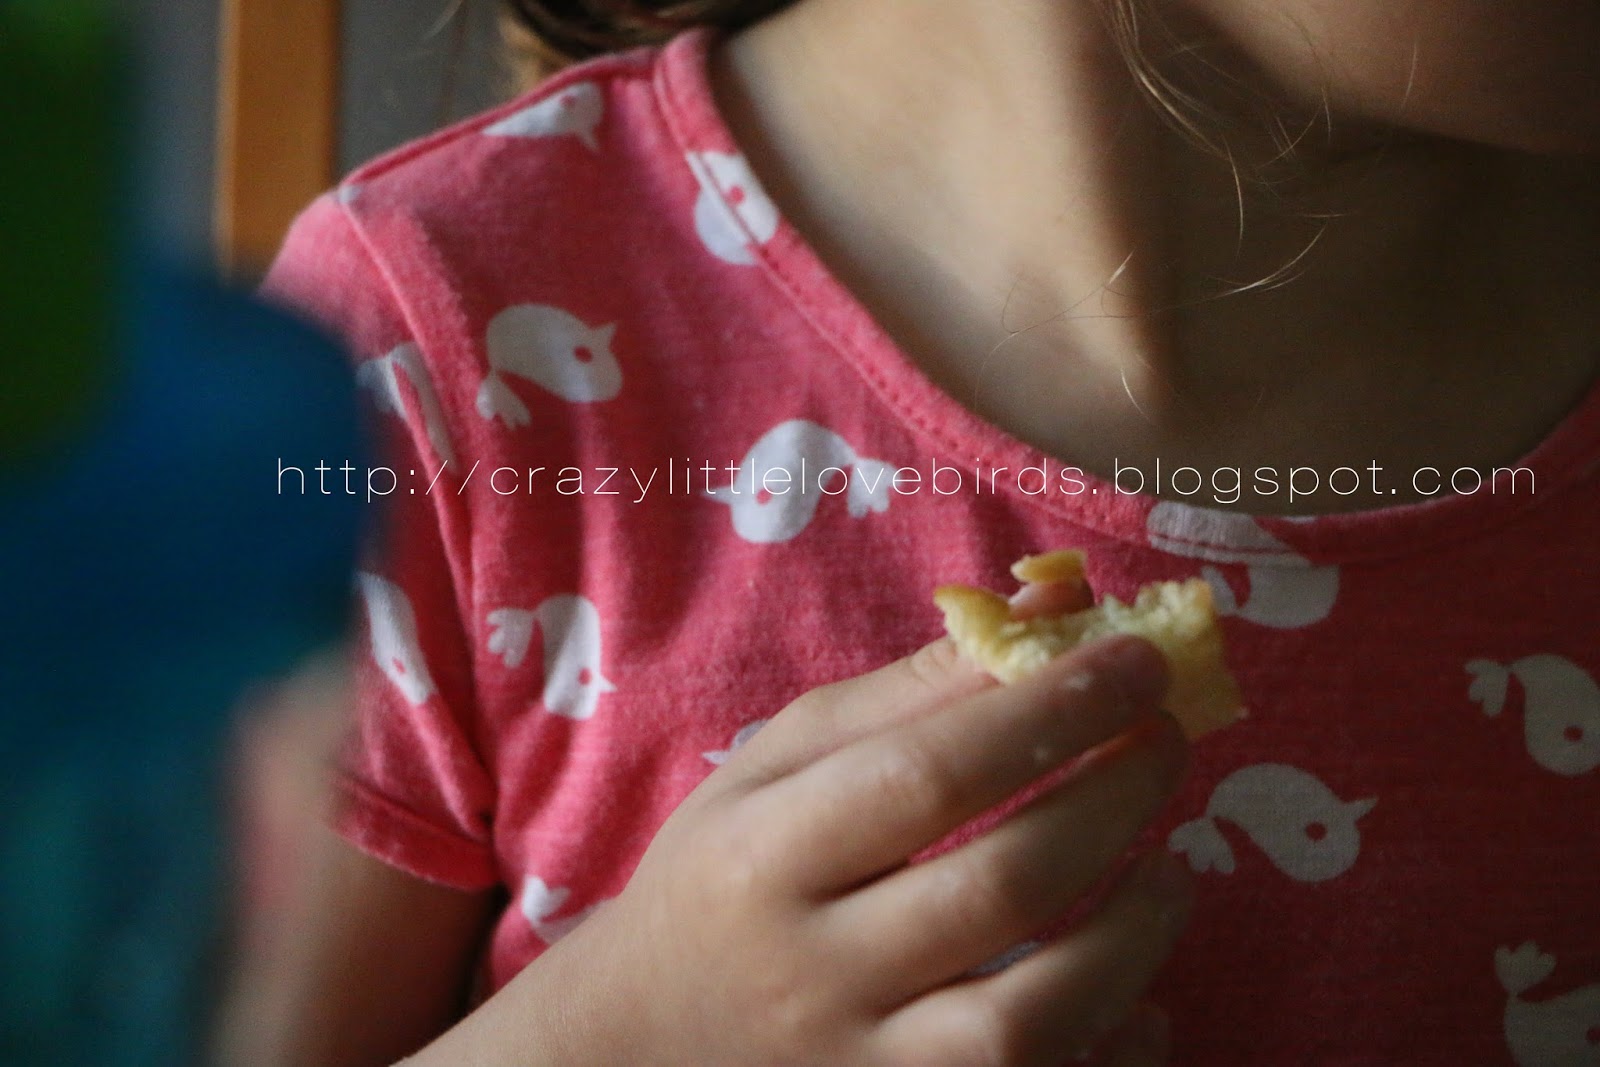
We enjoyed every last bite...

Later in the kitchen- I prepared a side dish to go along with the brisket my husband had been cooking for hours.  I put together one of my favorites-cauliflower bake with green olives, parsley, and chopped croutons. You combine everything with olive oil. Then season with a bit of salt and pepper.- Oh my, it's delicious. We used habanero olives that we picked up from World Market.


We enjoyed our time spent exploring, baking, and cooking. We also took our first hospital tour. We have our next one scheduled for this upcoming weekend. I took some notes and I'll compare the two. We experienced rain on Saturday. It was quick but nice. After the rain came to an end, we went on a nice family bike ride. On our bike ride, we saw, horses, and trains, and the sky was absolutely beautiful as the sun was setting.

Hello and welcome new readers. I hope you all enjoy your stay! :)

Comments

  1. I was actually craving donuts yesterday. I was gonna go to this local donut shop but didn't have time :(
    Your daughter is braver than mine. She is recently terrified of bugs even worms. I tried to show her a worm I found in the yard and she ran away screaming lol I hope she gets over this fear

    ReplyDelete
    Replies
    1. Lol, don't you just love when those cravings happen?! I honestly wasn't expecting that for breakfast. My husband just made it and was like here are some donuts. :) Oh don't worry your daughter will get over that fear. Our daughter will look at worms, but she has not touched it.- Lol

      But she did push a roly poly off our front porch, lol.

      Delete
  2. What a nice time you all had. The food looks delicious! You're always making something good. I hope the next hospital tour goes well, good luck with the choice.

    ReplyDelete
    Replies
    1. Jennifer, aw thank you. I was hoping this first hospital tour would blow me away. That wasn't the case at all. Both my husband and I were not into it. Hopefully this next one will be much better. I wish I wasn't so picky, but I am when it comes down to things like this. Thank you for your kind words. :)

      Delete
  3. Looks like a sweet outdoor adventure :)

    ReplyDelete
  4. Wow that is totally amazing you got that shot of the bumble bee flying. Looks like you had a very eventful weekend and fun times for you as a family exploring is always so much fun!

    ReplyDelete
    Replies
    1. Dina, aw thank you! We did have a good time. I know you had a wonderful time on vacation! ;)

      Delete
  5. Your images are amazing, it's a real feast for the eyes watching these :)

    ReplyDelete
    Replies
    1. Mariama, aw thank you so much. ♡ I need to go back to taking pictures with my camera. I enjoyed it very much.

      Delete

Post a Comment

Welcome! I love hearing your thoughts and seeing what you’ve been up to. Please leave a comment or ask a question below—I do my best to respond to everyone! To keep the blog comments safe and inspiring, spam will be removed. Thank you for being a part of this blogging space!

Popular posts from this blog

The Crazy Little Lovebirds Link Party 149

Welcome to The Crazy Little Love Birds Link Party #149! I’m so happy you’re here! This is a warm and friendly gathering where you can share your amazing ideas—whether it's tasty recipes, fun family activities, creative crafts, home projects, or any other joyful inspirations. If you love finding new DIY ideas and learning from other bloggers, you’re in the perfect spot! Happy Friday, blogging friends! I hope you are doing well. As always, thank you for joining the party. Last week, we had some wonderful shares: Congratulations to our featured bloggers Big Joys in Small Spaces – Musings and Glimpses:  A cozy look at how porch blooms and indoor plants bring simple joy to small corners of the home. Our Generation Boy Doctor – Craft Attic Resources:  A quick look at a cute doctor outfit for an OG boy doll, with easy notes on the yarn and small tweaks along the way. Small Worlds, Big Wonders – InkTorrents:  A quiet, creative post in which Soma shares her handmade books, waterco...

Little Clay Bowls.

Little clay bowls  I created these simple textured clay bowls, and I'd love it if you created some too! Take some clay and mold them into a round bowl shape. I used air-dry clay for this project.  Allow it to dry completely overnight. Then take some paint and mix a few colors together and paint each bowl. I'm using these cute handmade clay bowls to store some of my jewelry in them.   Enjoy~ **Hello to all my readers, and welcome new readers. It's such a pleasure to have you come along on my journey. I appreciate YOU!** 

Dollar Tree Peel‑and‑Stick Wallpaper Box Makeover

I transformed a simple, everyday box into a beautiful and functional storage piece for my belongings. This makeover is both easy and budget-friendly, using affordable supplies from Dollar Tree along with some creative touches to enhance the box's appearance. With a few simple steps, you can create an attractive decorative storage box that can be styled in any room of your home. Whether you're looking to organize small items on your desk or add a pop of color to your living space, this project is versatile and practical. If you have a box that you're considering throwing away, think again! This DIY project not only gives new life to unused items but also allows you to showcase your creative side. Join me as I guide you through transforming an ordinary box into a charming accent piece you'll love to display. Quick video tutorial Materials Peel‑and‑stick wallpaper (Dollar Tree) Gold acrylic paint Decorative edge scissors Adhesive gems Paintbrush Optional: greenery or small...

The Crazy Little Lovebirds Link Party 150

  Welcome to The Crazy Little Love Birds Link Party #150! I’m so happy you’re here! This is a warm and friendly gathering where you can share your amazing ideas—whether it's tasty recipes, fun family activities, creative crafts, home projects, or any other joyful inspirations. If you love finding new DIY ideas and learning from other bloggers, you’re in the perfect spot! Hi, blogging friends, happy Friday! I hope your week went well. Thank you all for sharing at last week's party. I always enjoy your posts! As we head into the weekend, I hope you all have beautiful days ahead. I'm hopeful we'll get some rain in our area. If you missed last week's party, you can revisit it here-- The Crazy Little Lovebirds Link Party 149 I'm excited to share the featured posts with everyone... Congratulations to our featured bloggers Making Sundried Tomatoes From Your Garden – 3 Winks Design Be sure to check out this super handy guide to turning your garden tomatoes into real sun...

DIY Holiday Glass Candle Display- An Upcycled Craft

Learn how to create a beautiful holiday glass candle display using upcycled materials with this DIY craft project. Perfect for adding a festive touch to your home decor. Find step-by-step instructions and inspiration for this creative and sustainable holiday project. Recently, I have been feeling very festive and have been enjoying decorating, baking, and much more. I noticed that I had a few glass jars and old candle jars around my home, and I wanted to create something simple. I thought a candle display would be great and easy to create. If you have any pasta jars, old candle jars, or any glass jars, this craft is perfect for you! For this project, you will need the following materials: Frosted Glass Spray (I used Rust-Oleum) Gold wire Stretch cord (optional) Holiday greenery, berries, and any holiday decoration can be added Flameless tealights Mini ornaments (I used one for this project) You can find flameless tealights at your local Big Lots store. A pack of 10 with extra batteries...

All content copyright 2010-2026

I kindly request that my photos and words not be taken or used without my permission. If you have any inquiries, please do not hesitate to contact me. Additionally, for more information regarding this blog, please refer to the disclosure policy tab located above. Thank you.