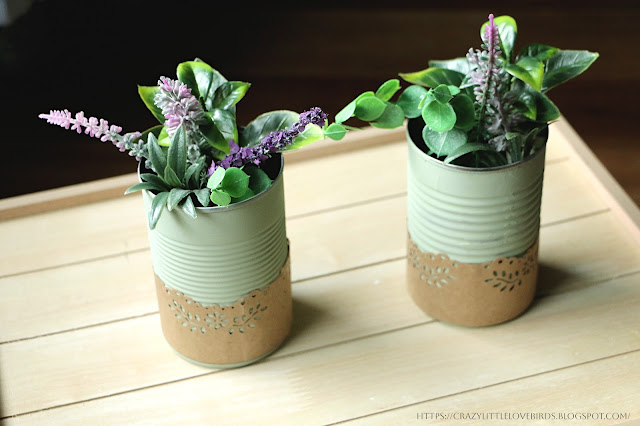
Hello everyone! I would love to share a quick upcycled craft with you. Today, we're using two metal cans and a paper bag to create two floral holders. I am also using faux floral for this craft. This is a simple DIY project. I am using a paper craft design punch-out in this craft.
Metal Can Floral holder upcycled craft.
Materials needed
Two metal cans
Paper bag
Acrylic chalk paint
Paintbrush
Faux floral
Scissors
Hot glue
One craft foam block
Optional- Ruler, pencil, and craft rocks
Adding paint to the tin cans
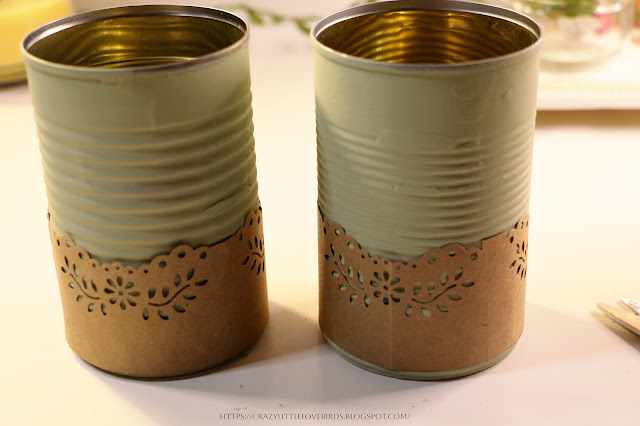
Start by taking your paintbrush and applying paint to your metal cans. I usually start by using a thin coat of paint to start with. After, I take my blow dryer and begin to dry between each coat of paint. I applied two coats of acrylic paint to each can. After using your paint, set your cans aside.
Cutting your paper bag
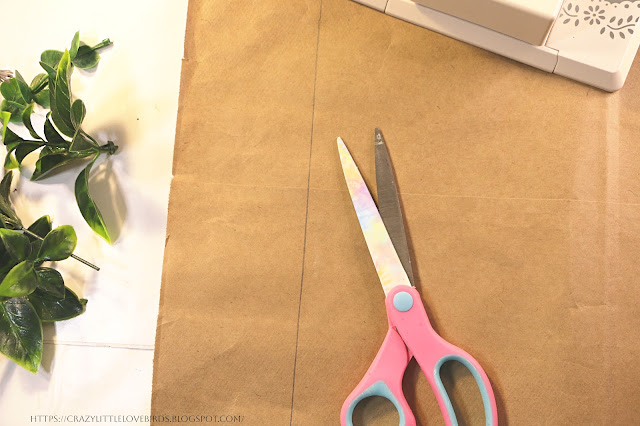
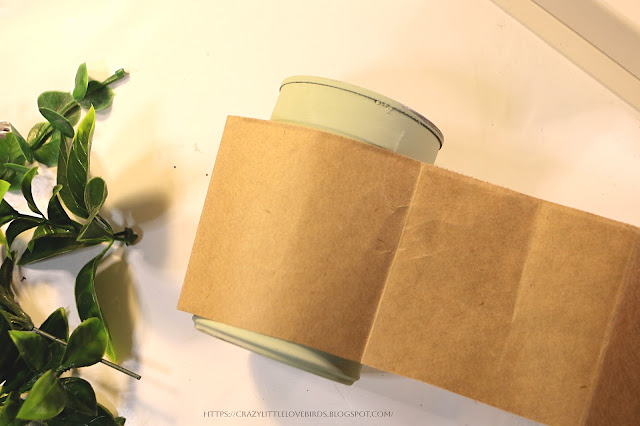
Next, take your paper bag, and this is optional, but you can use a ruler to help when deciding how wide you will want your paper to be once you apply it to your can. I went with around two inches for the width. Once you cut out a strip of your paper bag, take it and wrap it around your metal can, making any necessary adjustments.
Adding punch-out design
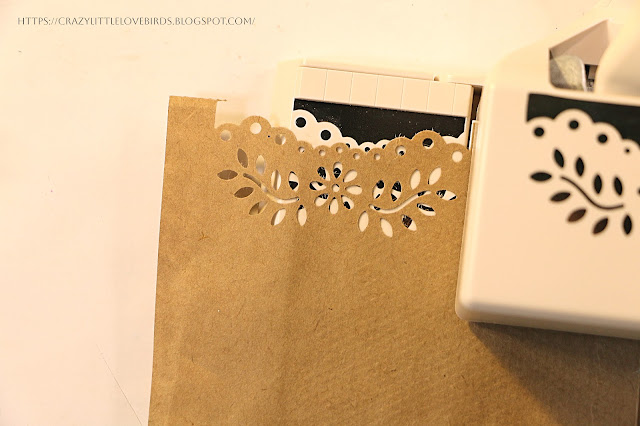
Next, take the paper bag that you have cut, and add it to your design punch-out. Line up the end of your paper bag and begin to punch out your design on your paper bag. Continue your design until you get to the end of the paper.
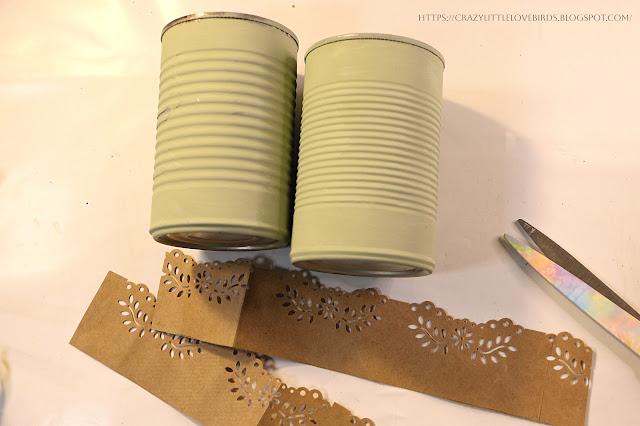
If you end up with square tabs, you can use your scissors to remove them.
Attaching paper design to tin cans
Next, use hot glue to attach your paper around your metal cans.
Adding foam blocks into metal cans
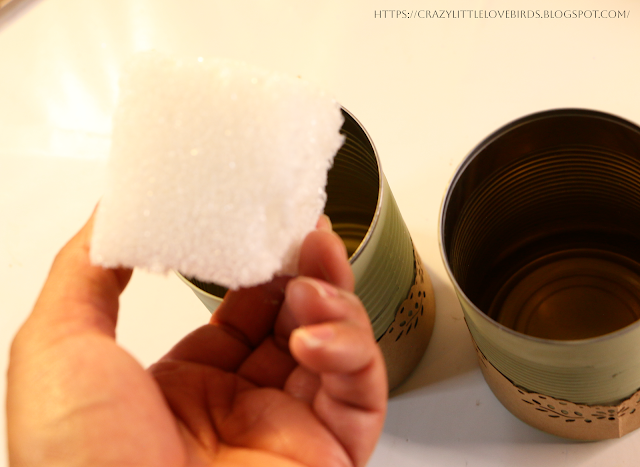
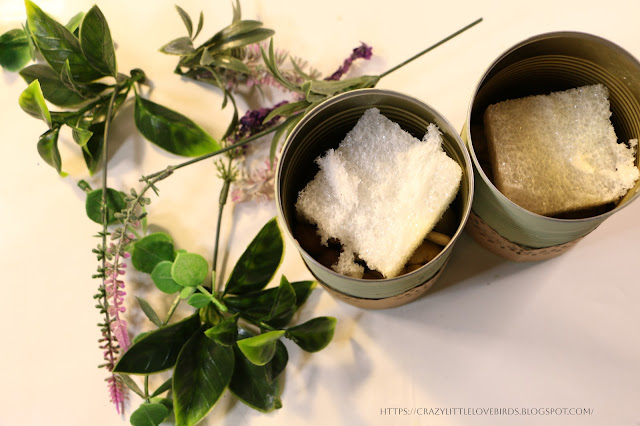
After that, take two foam blocks and add one to each of your metal cans. You may need to cut your foam block to fit inside the metal cans. Before adding my foam block to my cans, I took a handful of craft rocks and added them to each can. This helped with bringing the foam block higher up in the can, and I also wanted to add a little weight to my cans.
Adding floral and foliage
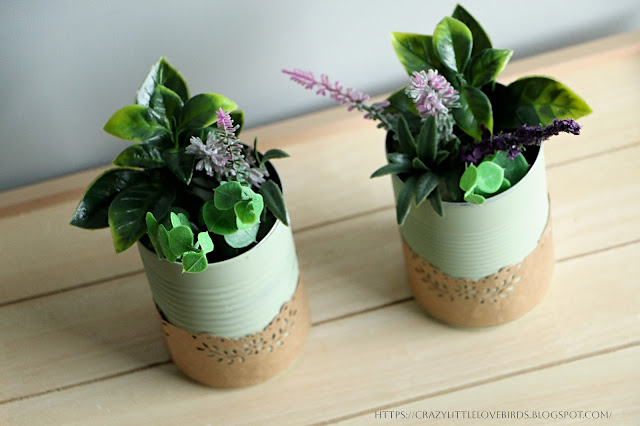
Next, take your floral and other foliage and begin to insert them into your craft foam blocks.
That completes your upcycled floral holder upcycled craft. I love how easy this was to create. This looks lovely displayed in any room. I'm actually adding these to my screened-in porch. I think these will look perfect on my outdoor coffee table.
Thanks so much for stopping by!
Pin Share Save





.jpg)
These are adorable, I love a quick and easy upcycling craft and these definitely fit the bill! Thank you for stopping by to share with us at handmade Monday :-)
ReplyDeleteJulie, thank you so much. 😊
DeleteI love this project. One could use different sized cans to vary the height of their pots/plants and create a display of varying heights. I like too that it could be changed up to match the season or the decor of a particular room.
ReplyDeleteLaurie, thank you! I also love that idea of using different sized cans to vary the height of the pots/plants. I think that would look lovely. Thank you so much for visiting.
DeleteOh, WOW, I like those!! Thanks so much for linking up at the #UnlimitedLinkParty 118. Pinned.
ReplyDeleteDee, thank you. :)
DeleteWhat a great idea! So easy and pretty.
ReplyDeleteJo, thank you so much!
DeleteThese are so cute Stephanie! I love the scalloped edges.
ReplyDeleteThank you 😊. I really enjoyed how this turned out.
DeleteStephanie, CONGRATS! Your post is FEATURED at the #UnlimitedLinkParty 119!
ReplyDeleteThank you! :)
DeleteWOW! The paper embellishments are such a game changer! They resemble leather! Love this whole vibe!
ReplyDeleteThank you so much! Your comments are always the best. :)
DeleteThese look lovely! I love the green paint you chose to go with the kraft paper.
ReplyDeleteThank you so much. :)
DeleteReally cute and clever!
ReplyDeleteMichelle, thank you. 😊
DeleteSo clever and really cute, too!
ReplyDeleteThank you! 😊
DeleteA "green craft" in every sense! Love pretty and practical and upcyled.Featuring when my link party opens.
ReplyDeleteCarol, thank you very much. I appreciate it.
DeleteWonderful, thanks for sharing on craft schooling sunday!
ReplyDeleteWhat a cute idea. Congratulations, you are being featured on WWBH. I hope you stop by. https://eclecticredbarn.blogspot.com/2025/08/diy-projects-on-wwbh.html
ReplyDeleteHugs,
Bev
Bev, thank you so much! :)
DeleteThese look so pretty and they are the colour of my new bathroom cabinets. They would go perfectly!
ReplyDelete