
Tis the Season to Spread Love with Custom Cards.


  My opinions are completely my own based on the products I have received. 
(Tiny Prints link exchange)

    We all know that around this time of the year, things can get pretty hectic.  If you're anything like me, you like to get things done ahead of time. With that being said, I received an order of Christmas cards from Tiny Prints that reflected exactly what I requested.  I also got a Christmas ornament that was in an attractive little bag.  I love the fact that I am able to visit their site and create my very own custom cards, for a price not much more than purchasing card stock. If you aren't familiar with Tiny Prints, they make custom items typically based off of your pictures. 
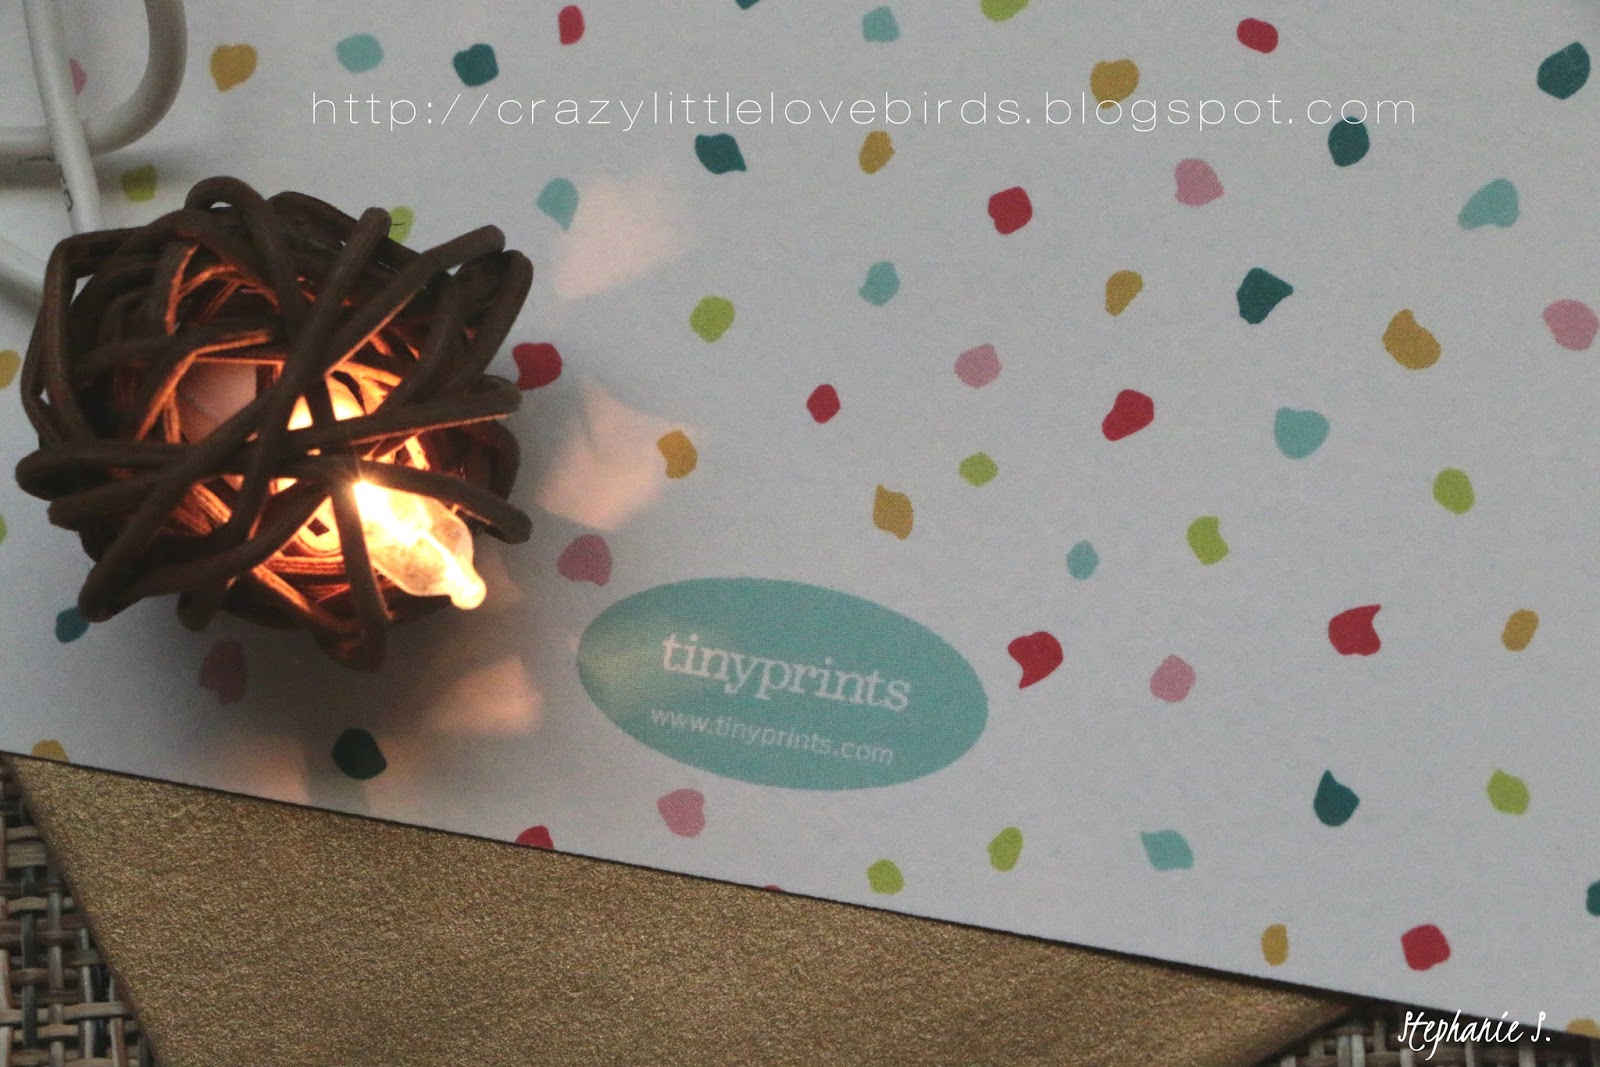
    My recent order included 10 whimsical rainbow pearl-themed cards, 10 5x7 bright red bokeh confetti envelope liners, 10 gold envelopes, and also a bright red sugar vine Christmas ornament. My cards are a signature matte finish with a basic trim. I chose this design because I loved how simple and pretty the design was. I figured it would look wonderful with the bright red bokeh confetti liners and gold envelopes.
      I am very pleased with how the design and colors came together with the pictures I chose to use. That makes one item on my holiday season "to-do list" that I don't have to worry about anymore. As for my Christmas ornament, I ordered the red sugar vine metal ornament I mentioned before. I love how it arrived in a cute little Tiny Prints pouch and it has a red satin ribbon to tie off and place on our Christmas tree. I'm so ready to share my cards with family and friends and add our newest ornament to our Christmas tree this year. If you have enjoyed this post and would love to see more of their products, please visit Tiny Prints. Thank you Tiny Prints for making this holiday season a little more vibrant! 


Xoxo, Stephanie

Comments

Popular posts from this blog

Eco-Friendly Craft: Create a beautiful Winter Tree Scenery using Cardboard

  Learn how to create a stunning winter tree scenery using eco-friendly materials like cardboard in this DIY craft tutorial. Embrace your creativity and make a beautiful and sustainable decoration for the winter season. I am excited to be participating in the Sustainable Challenge along with a group of fellow bloggers. We will be sharing eco-friendly and sustainable craft ideas. I cannot wait to share my upcycled craft with you all. The theme for this month is Christmas.  For my project, I chose to repurpose some old cardboard. I believe that using household items in crafting is a great choice. Today, I am excited to share with you a beautiful Winter Tree scenery that I created using cardboard and a few other materials. If you're ready, I would love for you to join me and recreate it. Video tutorial Materials needed for your cardboard craft project: Cardboard Acrylic paint Tissue paper Holiday stencils Paintbrush Scissors Mod Podge Faux snow Paper tree template  Any decorations suc

10 Favorite Summer Quotes

As we approach summer, let us cherish these beautiful moments and be thankful. Let's make the most out of each day by living in the moment, embracing our loved ones, spreading kindness, greeting strangers, dancing to our favorite songs, playing with our children, cooking our favorite meals, creating something new, and simply being present. 10 favorite summer quotes to enjoy Do you have a favorite summer quote?  If so, I'd love to know what it is.  Leave a comment below!  May your days be filled with happiness. Pin it for later

Spring Refresh: Mini Clip Photo Frame Hack for Seasonal Decor

  Are you ready to spruce up your living space this spring? If yes, I have an easy and inexpensive DIY project for you. We will use one of Dollar Tree's mini clip photo frames to create a mini spring display that will complement your existing spring decor. This fun craft project can also be added to a tiered tray.  I'll provide you with a full list of materials below. Materials needed Mini clip photo frame Acrylic paint Decorative floral napkin  Mod Podge  Paintbrush Optional paper flower embellishment/magnet for hanging on the refrigerator Letter stamps and stamp ink pad Scissors Step One: Applying Paint to the Photo Frame Start by taking a paintbrush and applying paint to the frame. I chose to paint my frame white. It took me about two coats of paint to give it complete coverage. Set your frame aside and let it dry. Step Two: Cutting the Napkin Use scissors to cut out any floral designs from your napkin that you want to use in your design. I cut a few leaves and mini flowers

Archive

Show more

Labels

Show more

All content copyright 2010-2024

I kindly request that my photos and words not be taken or used without my permission. If you have any inquiries, please do not hesitate to contact me. Additionally, for more information regarding this blog, please refer to the disclosure policy tab located above. Thank you.