
Refreshing.

I'm longing for sunny days, shorts, blended drinks, outdoor bubble blowing, sidewalk chalk doodling, and colorful flowers in my garden. -It's all so refreshing to me.


I enjoy warmer days. Hummingbirds in the garden. Our daughter runs through the grass, and simply enjoys her time being a kid. I enjoy my time in my garden planting and pruning. Gathering up fresh vegetables, washing, and preparing them for our meals. -I miss all of this. The weather is still cold here in Colorado, but I'm looking forward to sunny days! -It's all just so refreshing.

Comments

  1. Oh I miss sunny days as well!
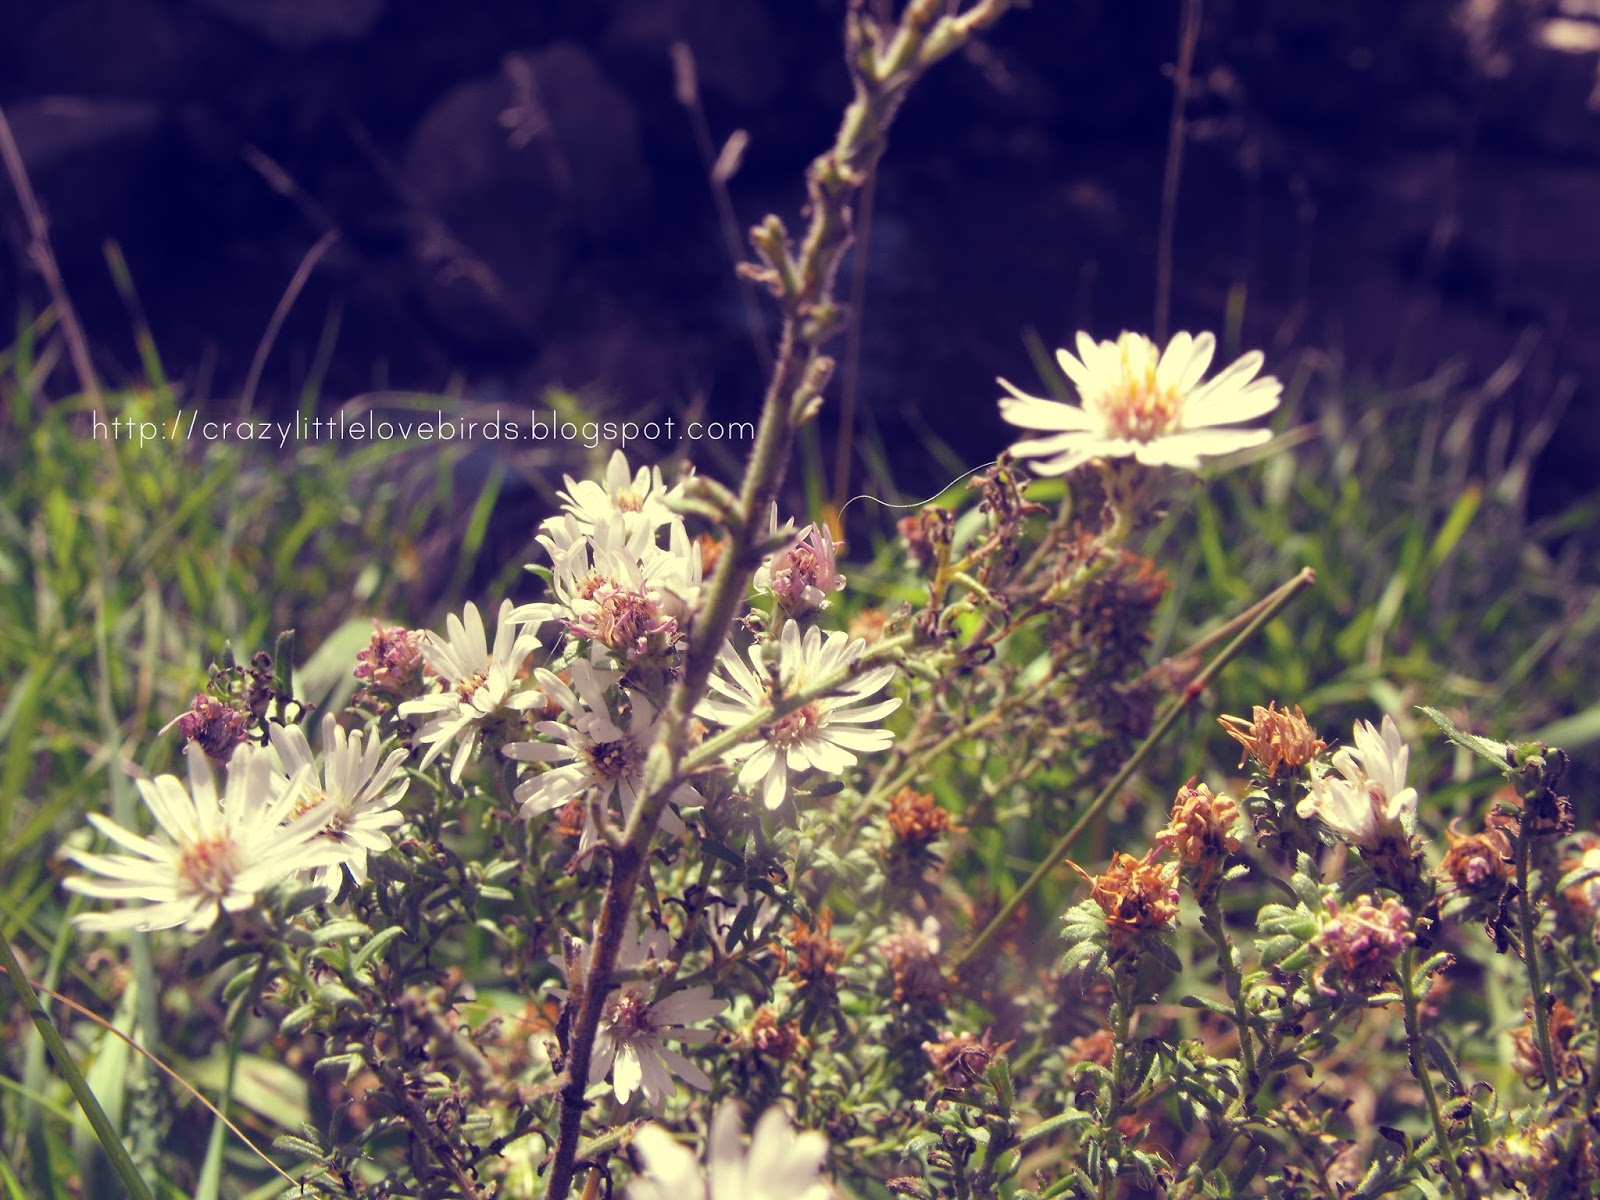
    I enjoyed all of these pictures, I can't wait to feel the warm sun and summer breeze again!

    ReplyDelete
    Replies
    1. Kristy, thank you so much. I too miss sunny days. -I'm looking forward to those sweet sunny days.

      Delete
  2. I'm looking forward to warmer days too. It hasn't been bad here at all, but still, it would be nice to go out in a short-sleeved shirt and maybe see a few butterflies!

    ReplyDelete
    Replies
    1. I can't wait to see a few butterflies as well! -They're so pretty.

      Delete
  3. I love spring! It is the most beautiful time of the year for me.

    ReplyDelete
    Replies
    1. I too enjoy spring weather, I also enjoy the little rain we get.-It helps with my garden. :)

      Delete
  4. I can imagine that cold weather, while it can be snuggly and cozy, may be a little harsh at times. Sunny outdoor fun and blossoming flowers brings lots of joy. It's been colder here too and I am so pleased that the sun is out today! Stay safe and warm. Enjoy your day.

    ReplyDelete
    Replies
    1. Jayne, thank you. :) Yes I'm ready for warmer weather. I enjoy opening windows, and letting fresh air in, and just enjoying the morning sun. -I'm looking forward to sunny days.

      Delete
  5. Wow, I adore your pictures! So lovely! :) Here in New Brunswick Canada it does not look that nice outside. We have tons of snow, and it's cold. But looking at your pictures made me excited for spring!

    ReplyDelete
    Replies
    1. Melly, thank you. I really wish it looked like that here right now. We have been experiencing a bit of snow as well. I am looking forward to when my flowers are blooming again, and the sun stays out and warms us all. :) Thank you for stopping by.

      Delete

Post a Comment

Welcome! I love hearing your thoughts and seeing what you’ve been up to. Please leave a comment or ask a question below—I do my best to respond to everyone! To keep the blog comments safe and inspiring, spam will be removed. Thank you for being a part of this blogging space!

Popular posts from this blog

Colorful Summer Flower: Recycled Paper Towel DIY

  Looking to bring a little sunshine into your space without visiting the craft store? This whimsical summer flower decoration makes great use of what you already have—think beads, pom poms, a humble paper towel tube, and a splash of acrylic paint. Bonus: it’s the perfect way to reuse an old frame and welcome summer in style! What You’ll Need: 1 paper towel tube (emptied, of course!) Acrylic paint (I chose a deeper pink) Craft pom poms (yellow makes a great center!) Assorted beads (medium for the stem, smaller for embellishing the petals) Foam letters (for your summer message) A reused frame (square or any shape of your choice) Scissors Hot glue gun Creating your summer flower decoration Cut the Tube and Shape the Petals :  Start by cutting the paper towel tube into four evenly-sized sections. Each section will serve as a petal. You should be left with four rings. Next, flatten each ring, then gently reshape it to form soft ovals. These will mimic delicate flower...

The Crazy Little Lovebirds Link Party 143

Welcome to The Crazy Little Love Birds Link Party #143! I’m so happy you’re here! This is a warm and friendly gathering where you can share your amazing ideas—whether it's tasty recipes, fun family activities, creative crafts, home projects, or any other joyful inspirations. If you love finding new DIY ideas and learning from other bloggers, you’re in the perfect spot! Happy Friday! I hope you all had a wonderful week. This week, the girls and I picked up our summer reading registration prizes at the library. Prizes included stickers, journals, and a book of your choice. Does your library have a summer reading program? We've been joining in on ours for a while now.  Today also kicks off the free outdoor concerts, which we may attend.   I hope you all have a wonderful weekend, and as always, thank you for joining the party each week. I love visiting each of your blogs and seeing what you've been up to. I'm excited to share this week's featured posts from party 142.  ...

DIY Tea Tin Planter for Sweet Mint

Today’s tiny DIY win: turning an empty lemon‑ginger tea tin into a planter for a sweet mint plant that needed some love. I cleaned the tin, added drainage, and nestled the mint inside. It instantly brightened up the space — the colors on the tin and the fresh green leaves look so sweet together. I love giving everyday items a second life, especially when they end up this cute. Quick Video Tutorial  I began this little project by cleaning out an empty metal tea container that I had saved. It still held a soft scent of lemon and ginger, and I loved the idea of giving it a second life. Once I washed and dried it, the container felt ready for a new purpose.   Next, I used a finishing nail and a hammer to create a few drainage holes in the bottom of the tin. Since metal containers don’t have natural drainage, this step helps keep the roots healthy and prevents the soil from becoming soggy. Having prepared the container, I carefully removed the sweet mint from its original pot. The ...

DIY Upcycled Peanut Jars

Transform your old peanut jars into stylish, functional containers with these creative and easy DIY upcycling ideas. Learn how to repurpose your peanut jars and give them a new life with practical and decorative uses.   Materials needed: Two  empty peanut containers Two sheets of crafting paper tape scissors Start  by removing the old label on your peanut containers  Next, you'll want to wrap your crafting paper around your container.  If you find that it does not completely cover the container, cut out a single strip to use later. I found it easier to wrap my containers with my craft paper and make the marks I needed before cutting them to size.  Tape your crafting paper into the container and then make necessary cuts to the paper using your scissors. Once this is done, take the last piece of crafting paper that you cut out earlier and place it over the spot that you were unable to cover. Take some clear tape and apply it to the contai...

The Crazy Little Lovebirds Link Party 144

Welcome to The Crazy Little Love Birds Link Party #144! I’m so happy you’re here! This is a warm and friendly gathering where you can share your amazing ideas—whether it's tasty recipes, fun family activities, creative crafts, home projects, or any other joyful inspirations. If you love finding new DIY ideas and learning from other bloggers, you’re in the perfect spot! Happy Friday, blogging friends! How was your week? Last week, we celebrated my husband's birthday, and I made an ice cream cake for the occasion. While we were shopping, our youngest daughter found a delicious blend of coffee and cookies and cream ice cream.  It was definitely a hit! Since my husband loves coffee, the combination of coffee flavor with cookies and cream was just perfect. What's your favorite ice cream flavor?   As always, we had wonderful posts shared at last week's party. I took the time to visit every single post, and I always enjoy connecting with all of you. If you missed last week’s p...

All content copyright 2010-2026

I kindly request that my photos and words not be taken or used without my permission. If you have any inquiries, please do not hesitate to contact me. Additionally, for more information regarding this blog, please refer to the disclosure policy tab located above. Thank you.