
Cute Dollar Tree Sign Display

Are you ready to add some cuteness to your Dollar Tree sign? Come along with me as we transform a simple round sign into a stunning display using Mod Podge, tissue paper, and other materials. This project is perfect for beginners and guaranteed to bring a smile to your face.

Cute Dollar Tree Sign Display


Materials needed:

- Round wooden sign
- Paintbrush
- Decorative tissue paper
- Faux greenery
- Paint
- Floral
- Wooden letters
- Craft clothespins
- Scissors
- Wood glue
- Craft knife


Cutting decorative tissue paper

Start by cutting a section of decorative tissue paper that fits over the inner area of your round wooden sign.


To begin with, place your tissue paper on a flat surface. Use a craft knife to cut around the top of your sign. Keep cutting around the edges until you have made your way around the entire sign. You will only need two sections of tissue paper. Leave the middle portion of the sign as is to maintain the natural wood look.


Applying Mod Podge 

Once the tissue paper is in place, use a paintbrush to apply Mod Podge on your wooden surface. To remove any creases and lines, use a blow dryer. Feel free to use any technique that works best for you. Apply a second coat of Mod Podge over the tissue paper and repeat the previous steps. Finally, remove the tissue paper.


Applying paint to sign

Apply paint to the middle section of your sign.


Adding paint to wooden letters

This is optional, I applied a thin coat of paint to my wooden letters. The color I am using is called espresso.


Attaching wooden letters to sign

To proceed, grab your wooden letters and apply wood glue to attach them to your sign.

Adding clothespins to sign

Apply some wood glue and attach the clothespins to your sign.


Adding greenery to your sign
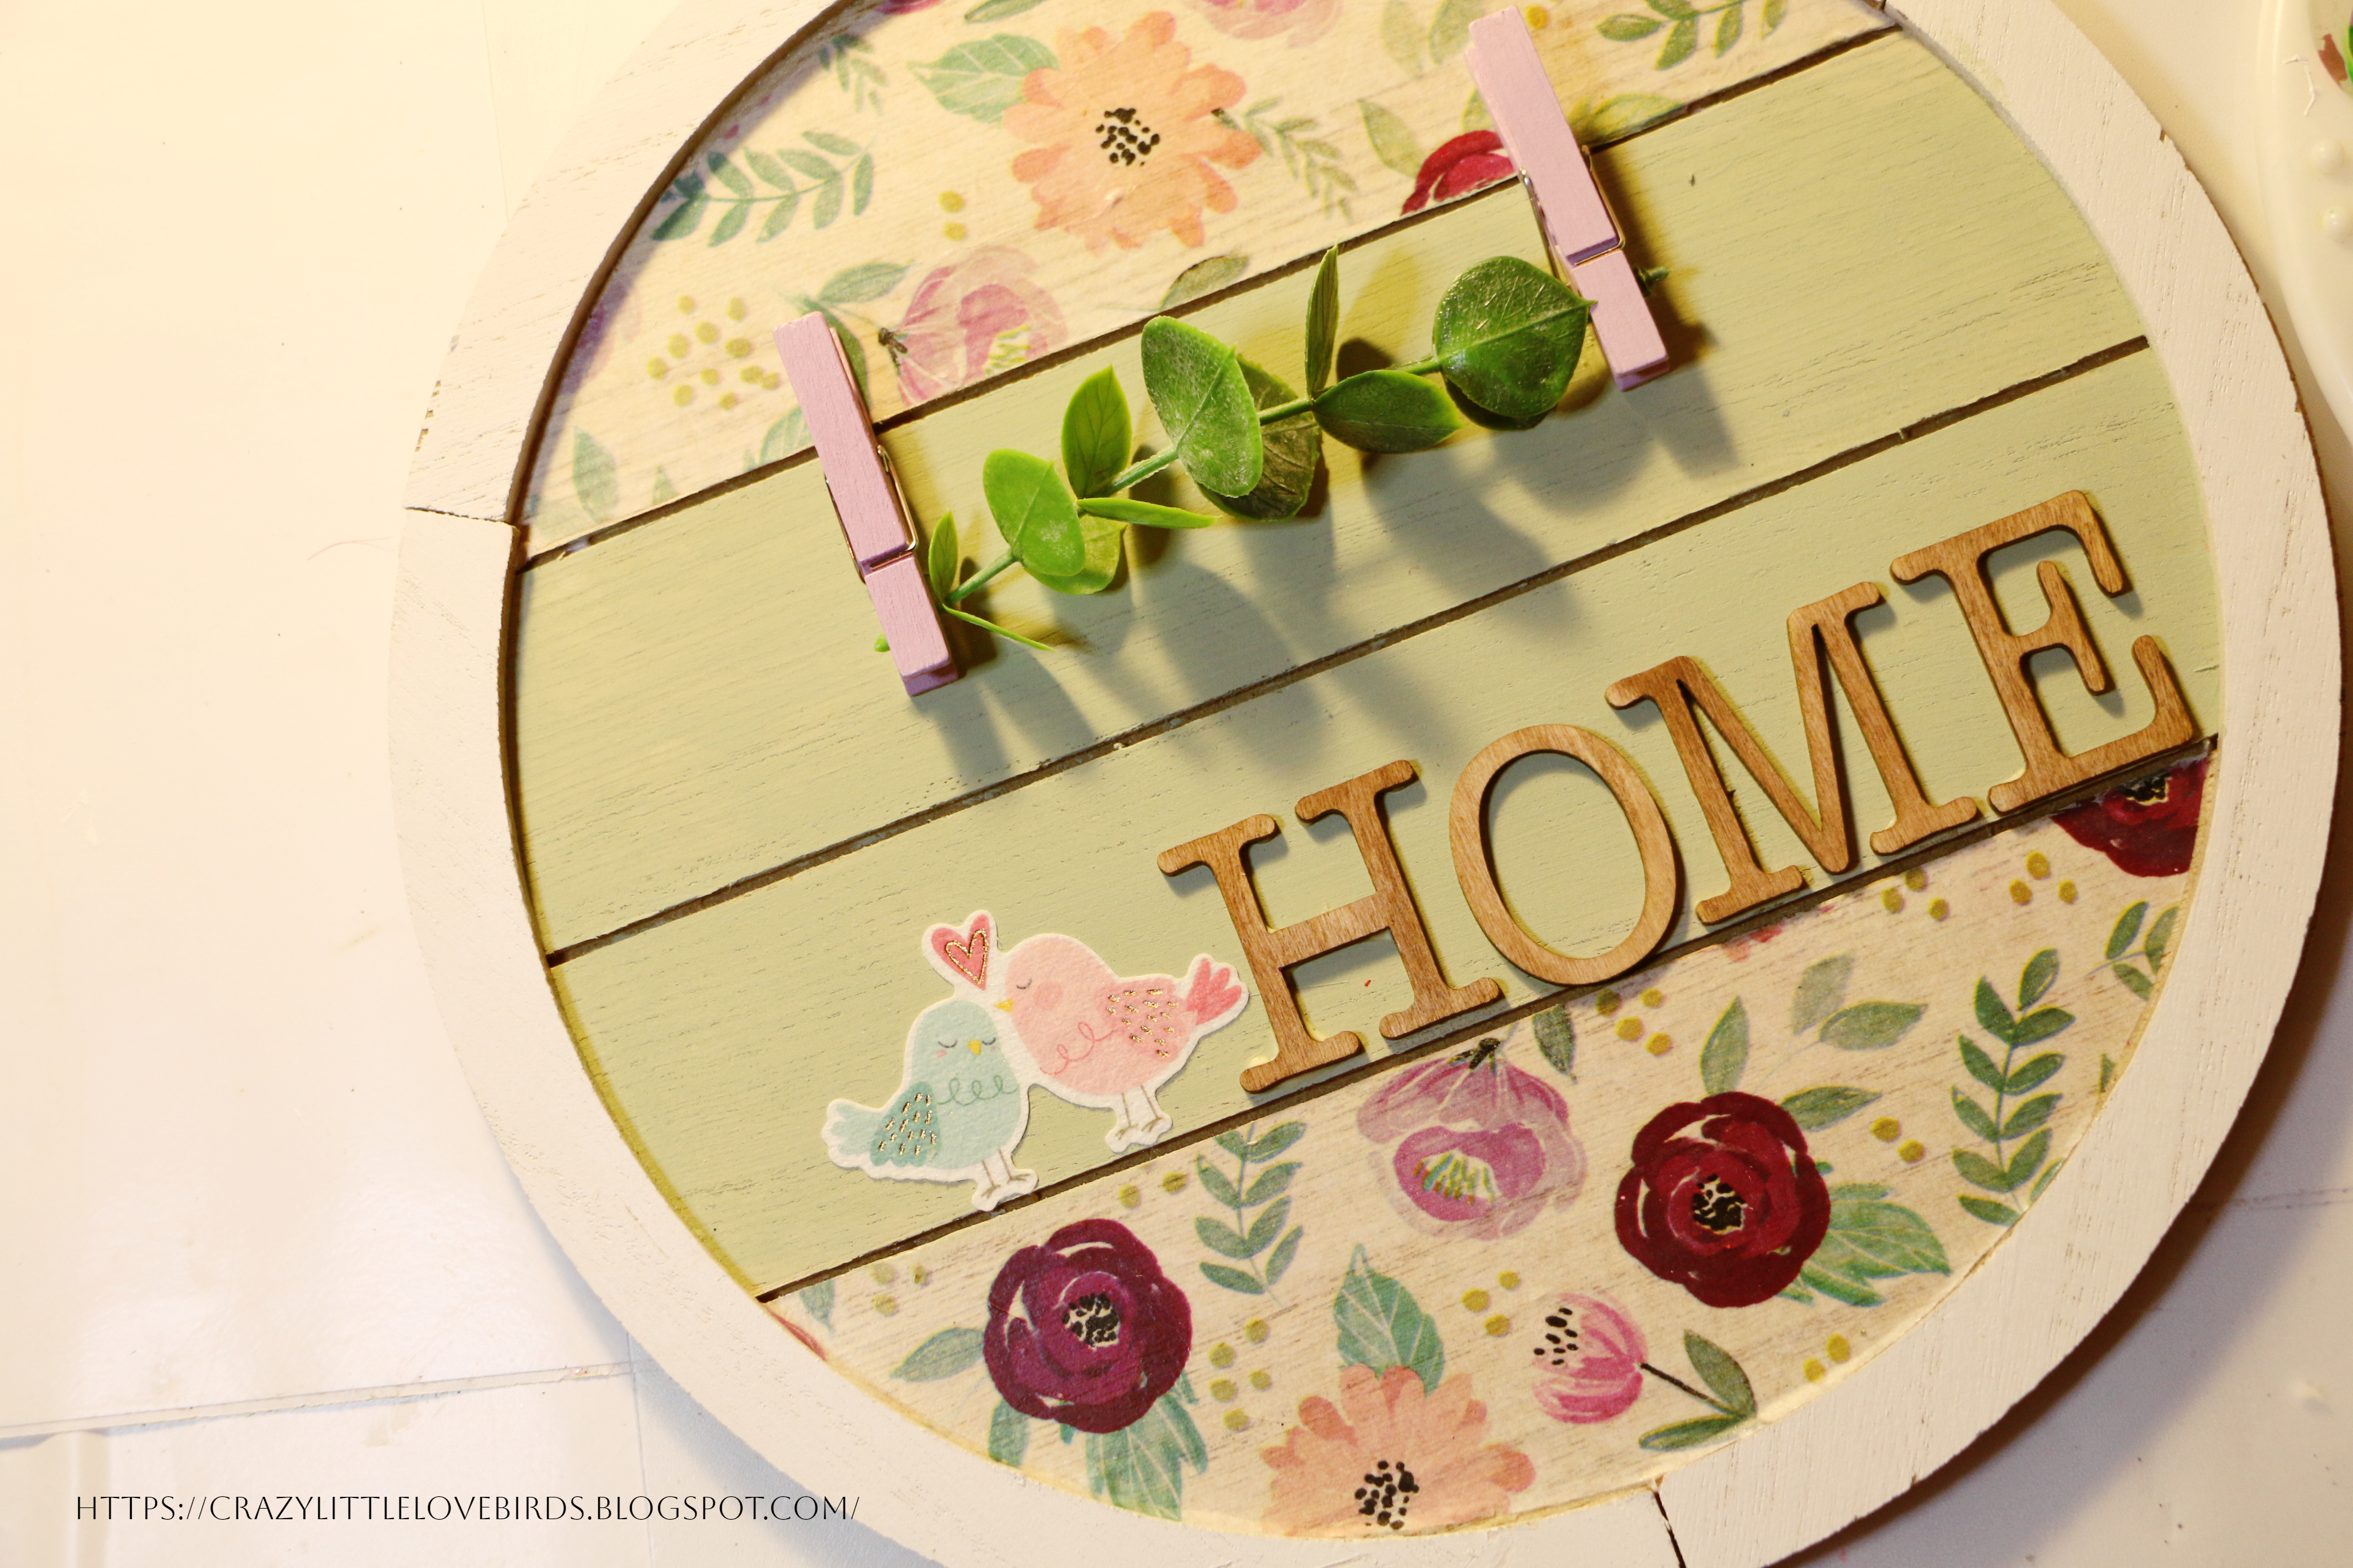
Take your artificial greenery and attach it to your clothespins. To ensure a secure hold, apply some wood glue on the inside opening of the clothespins before attaching the greenery. Additionally, you can add a cute sticker next to your wooden letters to enhance their appearance.
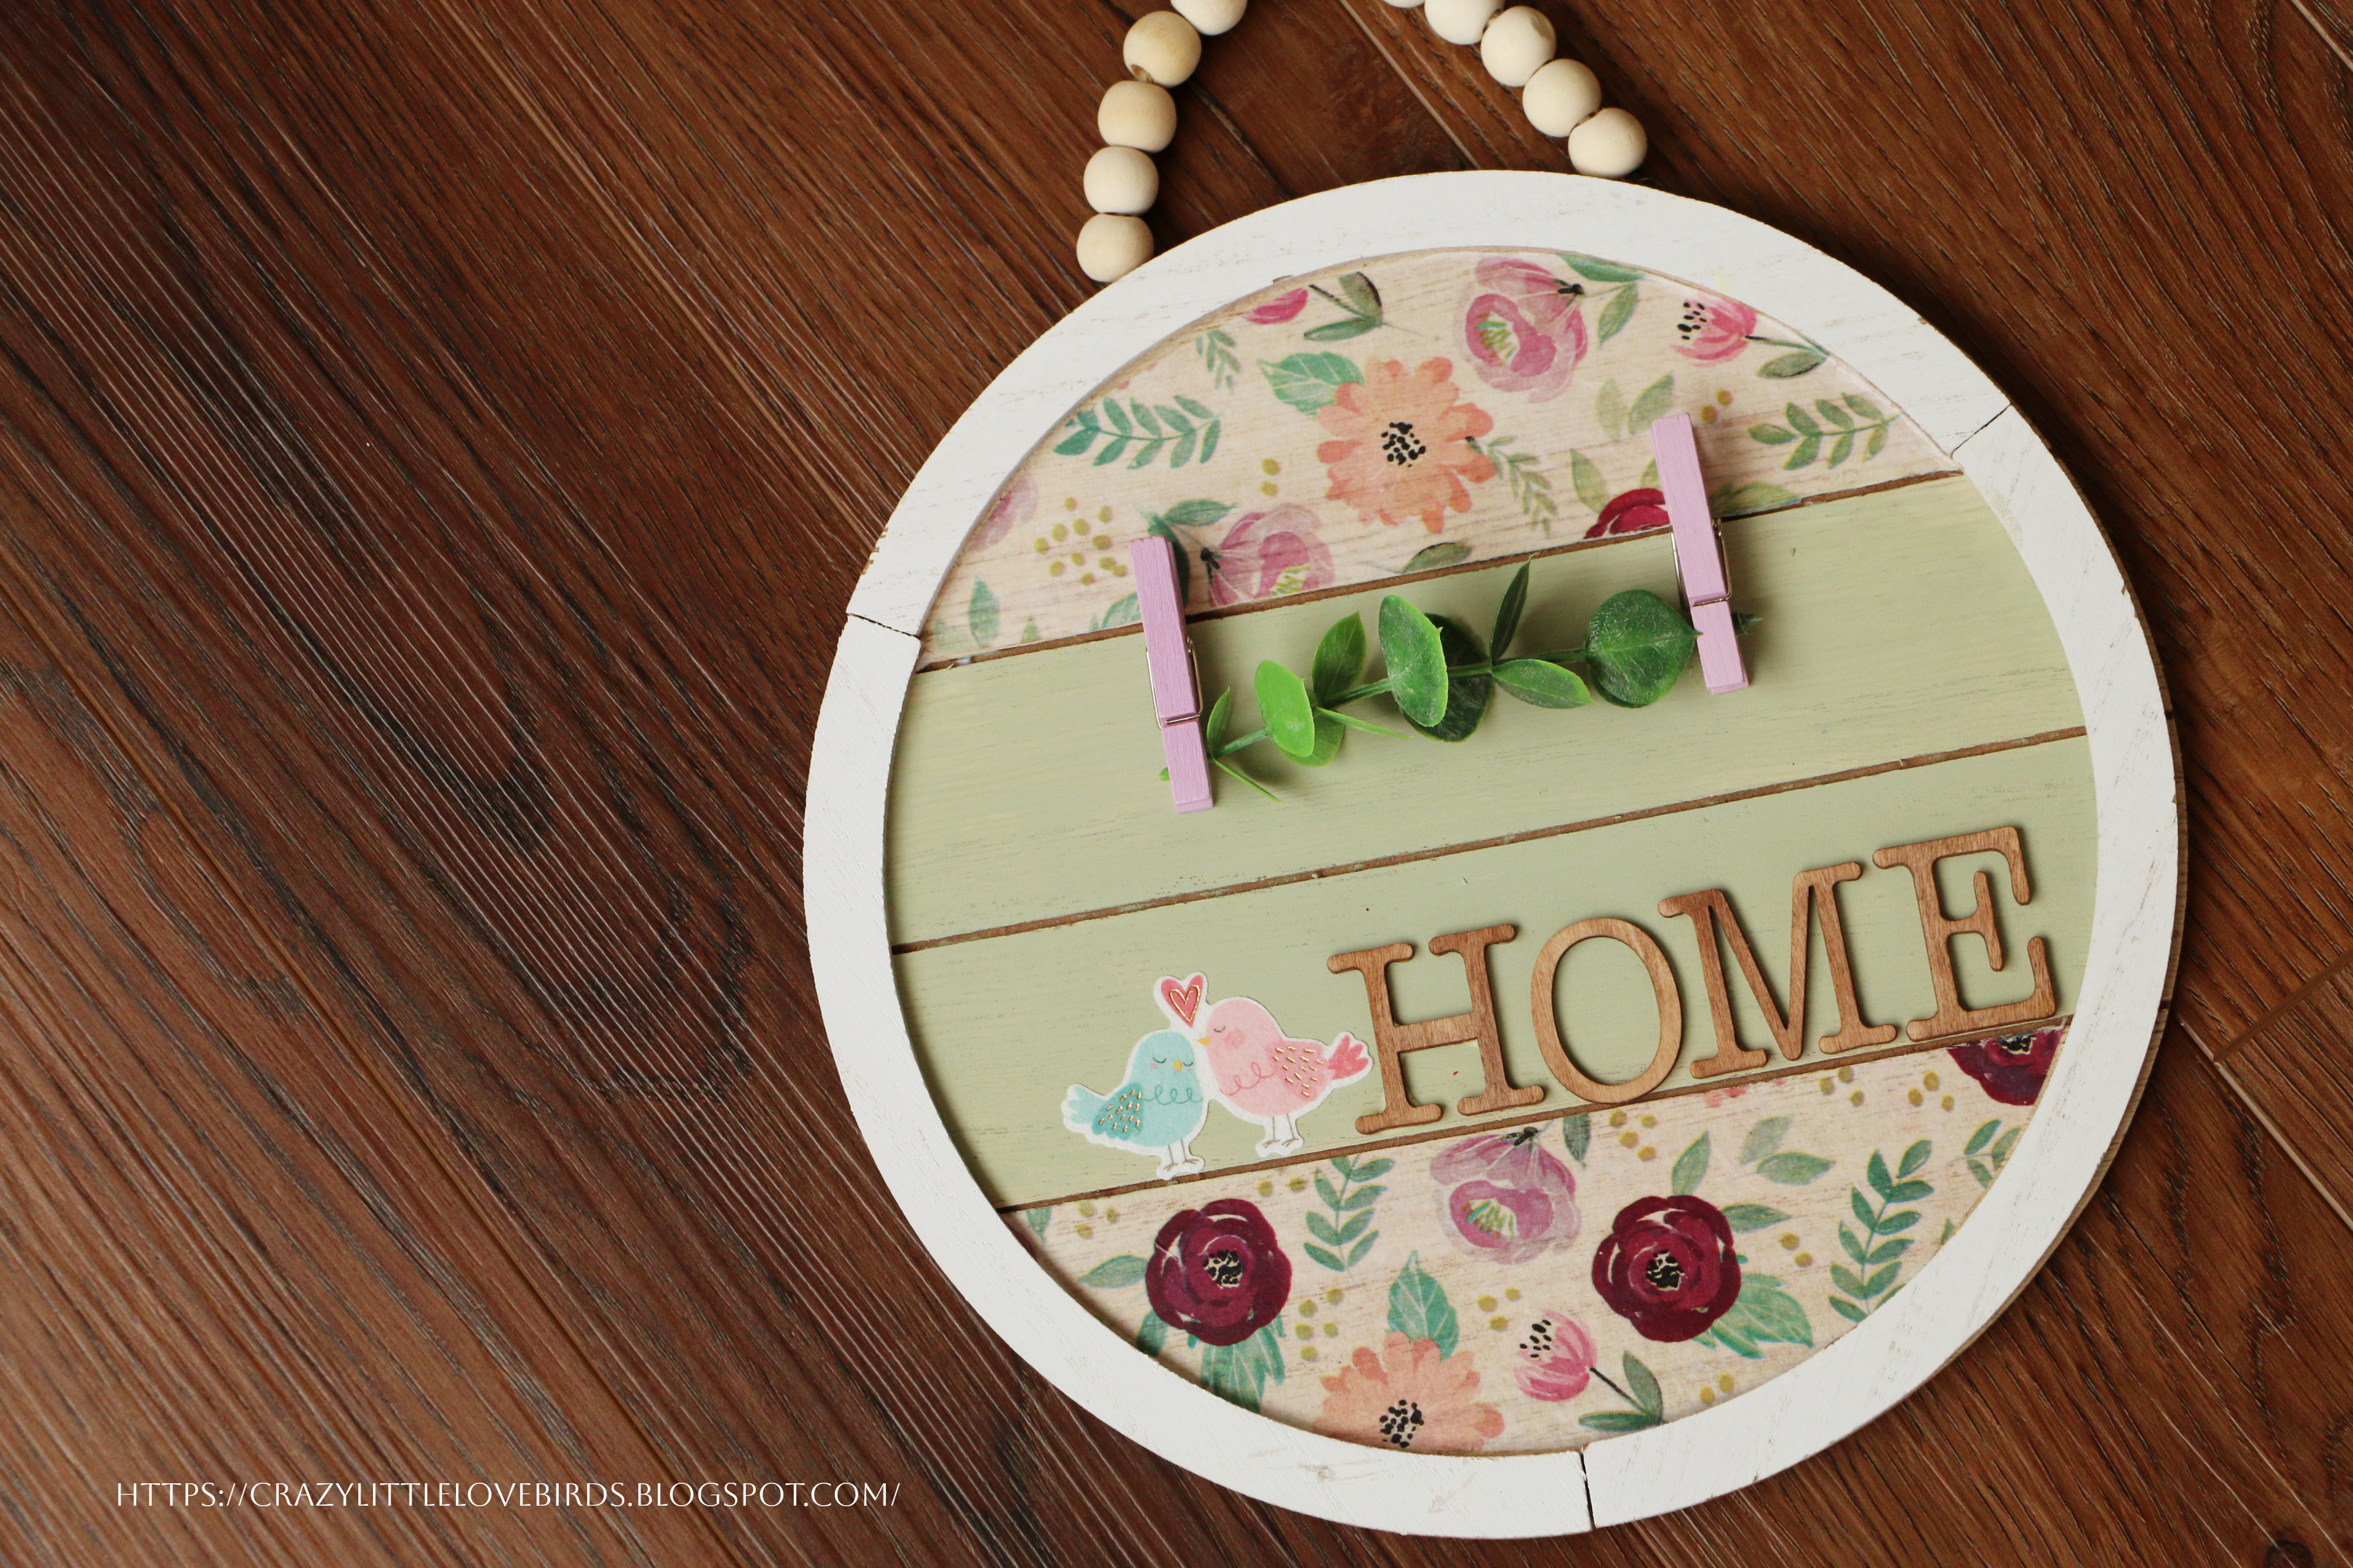

Your sign is complete and I just love the way it turned out. It is simple and takes very little time to create. So if you were wondering what you create using the round sign from Dollar Tree, I hope this gives you an idea of what to create. Also, be sure to check out my other DIY round sign decoration I created on my craft blog.

Thank you for stopping by and creating with me.

Pin Share Save


Comments

  1. This is so cute! I love that tissue paper. Thanks for sharing on Happiness is Homemade over at Life as a LEO Wife. I'd love to have you come & share on Crafty Creators Link Party as well. It has a different audience, and they would love this. It's open from Thursdays at 6am through Monday nights at 11:59. Hope to see you there!
    Niki | Life as a LEO Wife

    ReplyDelete
  2. It is cute and I love the colors you used. Thanks so much for linking up at I Made It Monday Link Party 1. Shared.

    ReplyDelete
    Replies
    1. Thank you! I thought the colors were a great combination. Thank you for stopping by.

      Delete
  3. Stephanie, CONGRATS! Your post is FEATURED at #IMadeItMondayLinkParty 2.

    ReplyDelete
    Replies
    1. Dee, thank you so much. I'm always so happy to share on your link party. ☺️

      Delete
  4. I really love this and love the pretty fabric you used

    ReplyDelete
  5. That is so pretty; I love the colors!

    ReplyDelete
  6. Great look and surprisingly simple!

    ReplyDelete
  7. This is so cute! The tissue paper you chose is lovely. Thanks for sharing this post at the Will Blog for Comments #25 linkup. :)

    ReplyDelete
  8. What a sweet decoration! Thank you for sharing how to make it with Hearth and Soul, Stephanie!

    ReplyDelete
  9. April, thank you very much. Always happy to share. 😊

    ReplyDelete
  10. This is so cute, love using Mod Podge never tried modge Mod Podgeing fabric though.

    ReplyDelete
  11. Thanks for sharing with us, I'll be featuring your this week when the next to Grandma's house we go link party starts!

    ReplyDelete
    Replies
    1. Tarahlynn, thank you very much! Happy to be one of the featured posts. 😊

      Delete

Post a Comment

Welcome! I love hearing your thoughts and seeing what you’ve been up to. Please leave a comment or ask a question below—I do my best to respond to everyone! To keep the blog comments safe and inspiring, spam will be removed. Thank you for being a part of this blogging space!

Popular posts from this blog

The Crazy Little Lovebirds Link Party 158

  Welcome to The Crazy Little Love Birds Link Party #158! I'm so happy you're here! This gathering is all about sharing what brings us joy.  Bring your delicious recipes, fun family moments, cozy crafts, and home projects—basically, everything wonderful you've been working on. Congratulations to our featured bloggers Mod Crochet Loopy Hair Ties Pattern — Val & Holland Val & Holland made the cutest loopy hair ties, and they’re just such a fun, quick little crochet project.  An Unexpected Adventure — Jennifer Jennifer shared how a long‑dreamed‑of getaway with her husband turned into a true adventure — steep trails, gorgeous waterfalls, a few shaky moments, and plenty of faith guiding her through. Creamy Paprika Salad Dressing — Scratch-Made Food Melynda has a creamy paprika dressing that’s simple, flavorful, and perfect for everyday meals. One of those easy homemade staples you’ll want to keep around. Jahresprojekt 2026 – August — Mami Made It Mami Made It shared he...

The Crazy Little Lovebirds Link Party 162

    Welcome to The Crazy Little Love Birds Link Party #162! I'm so happy you're here! This gathering is all about sharing what brings us joy.  Bring your delicious recipes, fun family moments, cozy crafts, and home projects—basically, everything wonderful you've been working on. Hello, my wonderful blogging friends! As you read this, we are still on vacation and will be returning on Monday, the 19th. I scheduled this post in advance because I absolutely love seeing what everyone is up to, and I want to provide this space for you to share your posts. So please feel free to share! As I mentioned in the previous post, this party will not have featured posts; however, the next one, which will take place on the 23rd, will include featured posts. So go ahead and share away! :) You are invited to the Inlinkz link party! Click here to enter

The Crazy Little Lovebirds Link Party 161

     Welcome to The Crazy Little Love Birds Link Party #161! I'm so happy you're here! This gathering is all about sharing what brings us joy.  Bring your delicious recipes, fun family moments, cozy crafts, and home projects—basically, everything wonderful you've been working on. Happy Friday, blogging friends! We are just a few days away from our much-needed vacation. We’ll be exploring and doing what we love: attending a concert. We leave early next week. Just a heads-up: the next party, scheduled to open on Friday the 16th, won’t have featured posts since I will be out of town. However, I will have it set up as a scheduled post, so it will still go live. I will be returning on the 19th.  Please feel free to share your posts at the party! The party on the 23rd will include featured posts. Thank you all for sharing at the party; I truly appreciate all of you. Congratulations to our featured bloggers To visit the blogs of the featured bloggers, simply click on ...

Two good scents- Review & giveaway

 (Review and giveaway)- Two Good Scents  Sugar Scrubs These days I'm feeling very pregnant. So when the chance comes along to pamper myself, I'm definitely up for it. We can all use some pampering from time to time. :) I was contacted by Nancy over at http://www.twogoodscents.com/. She kindly offered to send me some of her products in exchange for a fair review of the items I get. No other compensation was provided for this review.  I received my products in a padded envelope stuffed with decorative tissue paper.  The containers were well-padded to protect the plastic containers.  After opening up the package, I took out the sealed jars, which had a professional look along with cute labels.  I opened each of them, one at a time.  My initial reactions were to the scents of the scrubs.  My personal favorite was the blossom scrub, which was reminiscent of a nice, clean, soft, flowery soap bar.  The others I received w...

Fun and Easy Cardboard Place Cards for Your Thanksgiving Table

 Are you l ooking for a quick and easy Thanksgiving DIY project? Learning to create upcycled cardboard place cards for your Thanksgiving table using simple materials. Great for a festive touch! Hello everyone! I'm excited to share this easy upcycling project with you. We'll be making place cards by repurposing cardboard. I had some cardboard lying around and wanted to find a creative use.  Quick Video tutorial Materials: - Cardboard sections: 3x8 inches (cut into strips) - Faux flowers - Paint marker - Floral cutters - Hot glue - Scissors or paper cutter (Used for cutting the cardboard into strips) Start by cutting the cardboard into strips. I used sections that are 3x8 inches in size. Next, fold each cardboard strip in half and flatten them out by pressing the folded sections together. Then, use a paint marker to write the names and add any designs you want on the cards. After that, use floral cutters to cut faux flowers that you want to use on the place cards. Attach the flo...

All content copyright 2010-2026

I kindly request that my photos and words not be taken or used without my permission. If you have any inquiries, please do not hesitate to contact me. Additionally, for more information regarding this blog, please refer to the disclosure policy tab located above. Thank you.