
Hi everyone! I hope you are doing well. I've been creating a few crafts for Valentine's. Today we are creating a quick and simple Valentine's house display. I love working with scrap wood pieces that I find around our home. I found the little house during my Christmas shopping. I found it at my local Target store. It comes in a pack of two and it was for $1.00. It included the houses, along with paint. I decided to ditch the paint included in the pack since the colors were Christmas colors. If you're ready let's turn this little wood house into a sweet Valentine's house display.
Little Valentine's House Display
.png)

Materials needed
- One scrap square wood piece
- One wood house
- Mod podge
- Acrylic paint
- Paintbrush
- Scissors
- Floral cutters
- Faux floral
- Hot glue or any adhesive
- One fabric heart decoration
- Decorative craft paper
- One pencil for tracing

Tracing the wood section onto decorative paper
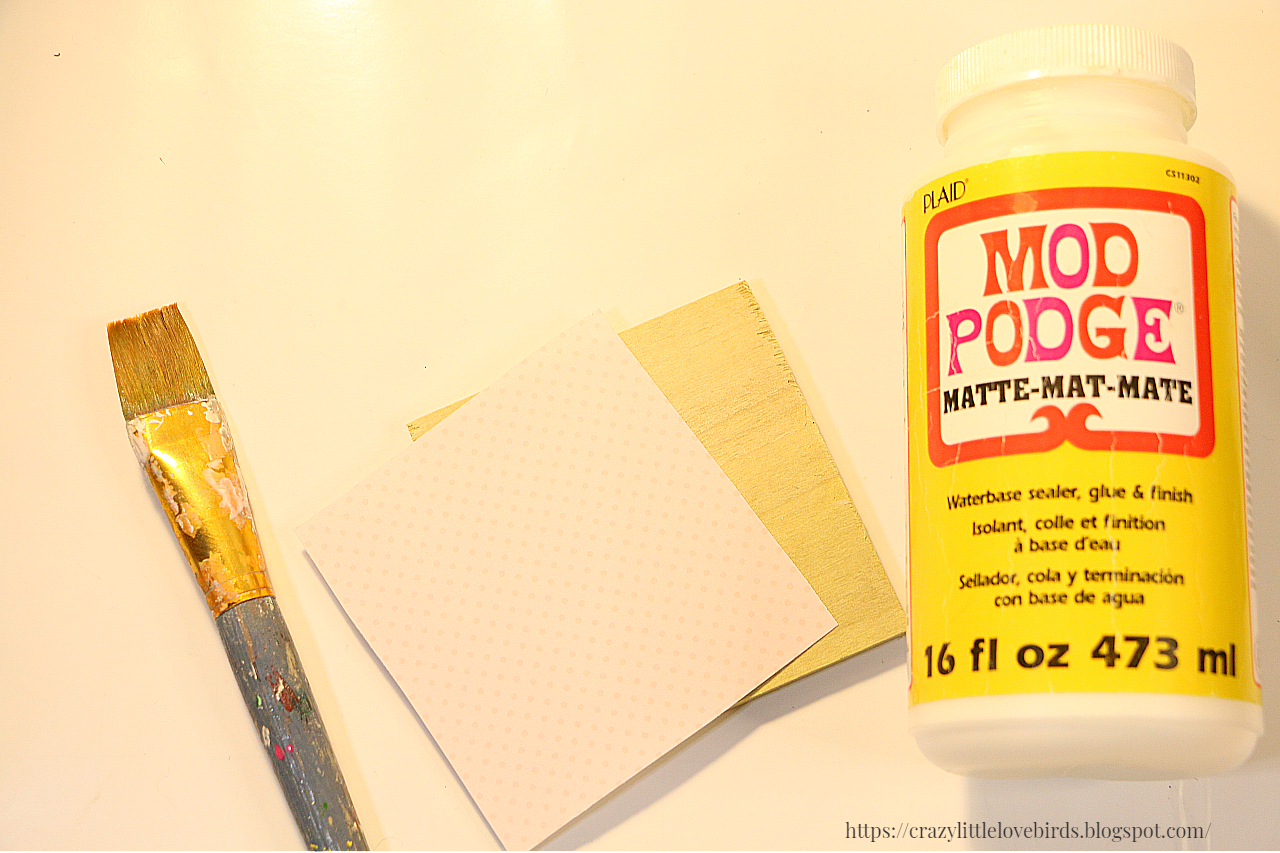
Start by taking your wood square section and using your pencil, begin to trace it out onto your decorative craft paper. Once you have traced it out, use your scissors to cut out the traced shape.
Applying Mod Podge and craft paper
Next, take your Mod Podge and apply a thin coat to your wood section. Place your paper on top of your Mod Podge. I always use my blow dryer when I work with applying Mod Podge. Remove any creases or visible lines. Once you have done so, take your paintbrush and apply a thin layer on top of your decorative paper. Repeat the steps, and use your blow dryer over the top surface of your Mod Podge.

Applying acrylic paint
Take your acrylic paint and apply it around the four sections of your wood piece.


Adding fabric heart
After, take your fabric heart and using hot glue add it to the front of your wooden house.


Attaching wooden house and wood square
Next, using either hot glue or another adhesive, add your wooden house to your wood square. I found that using an adhesive like E6000 worked much better. The hot glue left my wooden house with a larger gap between the house and the wood square. Definitely see what works better for you.
Adding faux floral
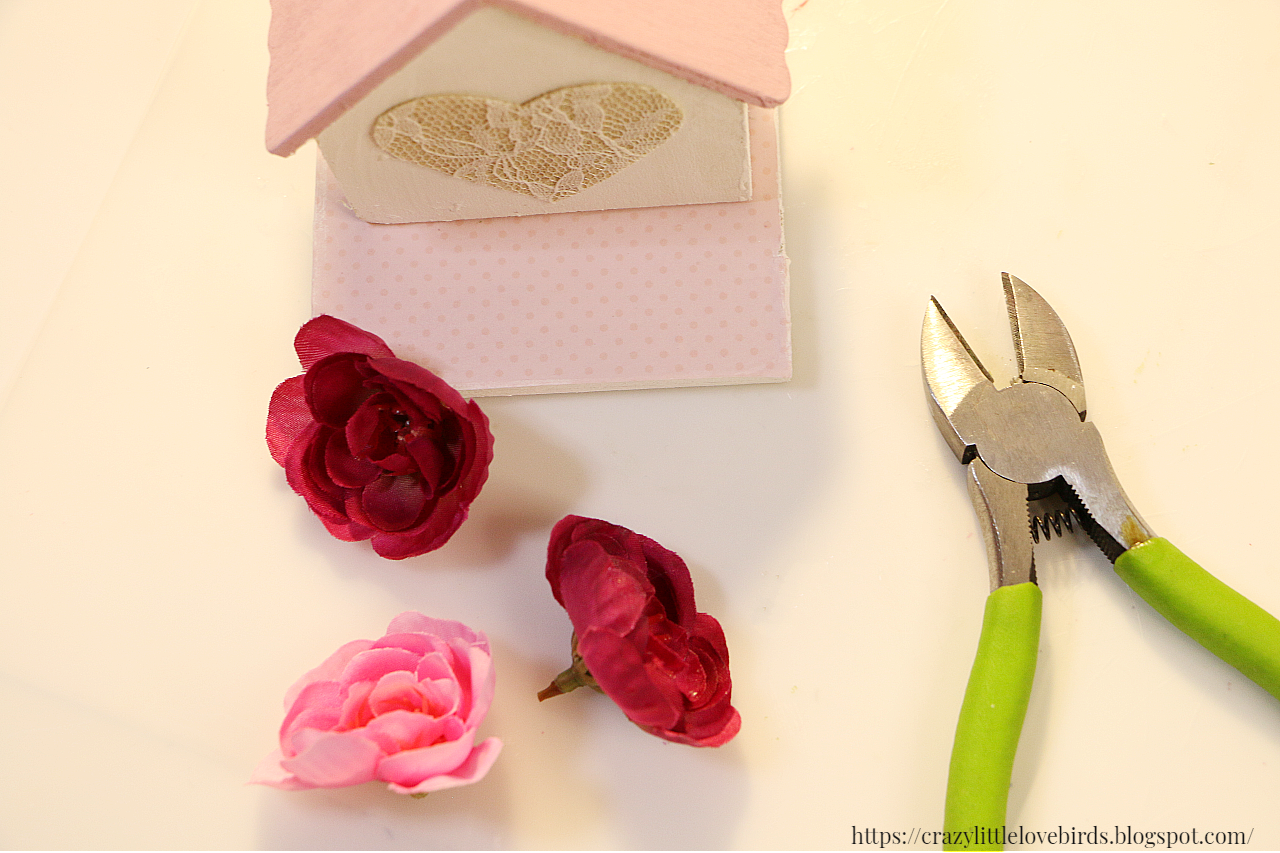
Lastly, take your floral cutters and begin to cut your floral. I wanted to add three of my flowers to the wood section. I used a little hot glue when attaching my flowers to my wood square. I went with larger flowers, but feel free and go with any size floral that you choose.


Your wooden Valentine's house display is complete. This lovely little house makes a great addition to a tiered tray near a heart garland, or near other Valentine-themed decorations. You can also display it on a fireplace mantel. I hope that you have enjoyed this simple craft creation. Be sure to let me know if you decide to create your very own. Thank you so much for stopping by. I'll see you soon.
Be sure to check out my recent Upcycled craft where I take an older craft and turn it into a sweet Valentine's hanging decoration. Upcycling an older craft
Also, be sure to check out my other craft blog over at https://stephcreatesthingsdiyhomeandcrafts.blogspot.com/
.png)
Very cute, love the lace heart! Thanks so much for linking up at the Unlimited Link Party 98. Shared.
ReplyDeleteDee, thank you! :)
DeleteThis is so sweet. I love the idea you can take craft supplies originally designed for Christmas and switch them up for a different season.
ReplyDeleteSteph, I've got to tell you, you do such lovely work.
ReplyDeleteThank you for sharing this with Sweet Tea & Friends this month.
Paula, thank you so much! I really appreciate it.
DeleteThis is so very sweet! You find such lovely things to decorate.
ReplyDeleteThank you so much. 😊
DeleteThis is so cute - love it!
ReplyDeleteThank you! 😊
DeleteThe little house is adorable and would fit in my home. I really like your crafts! I'm visiting from Will Blog For Comments.
ReplyDeleteAw, thank you. Glad that you enjoyed this craft. 😊
DeleteThis is darling. And I love that color. I love the scrapbook paper it's sitting on, too--what a great idea. Thanks for sharing this with us at the Will Blog for Comments #77 linkup. :)
ReplyDeleteJennifer, thank you. Glad you like it. Thanks for visiting. 🤗
Delete