
Today, I'd love to share with you a simple and quick way to decorate a wooden chalkboard. It's a cute and useful accessory for jotting down to-do lists, reminders, or just doodling. It's a great DIY project that can add a touch of warmth and coziness to your home decor.
Easy Fall Framed Chalkboard Decoration

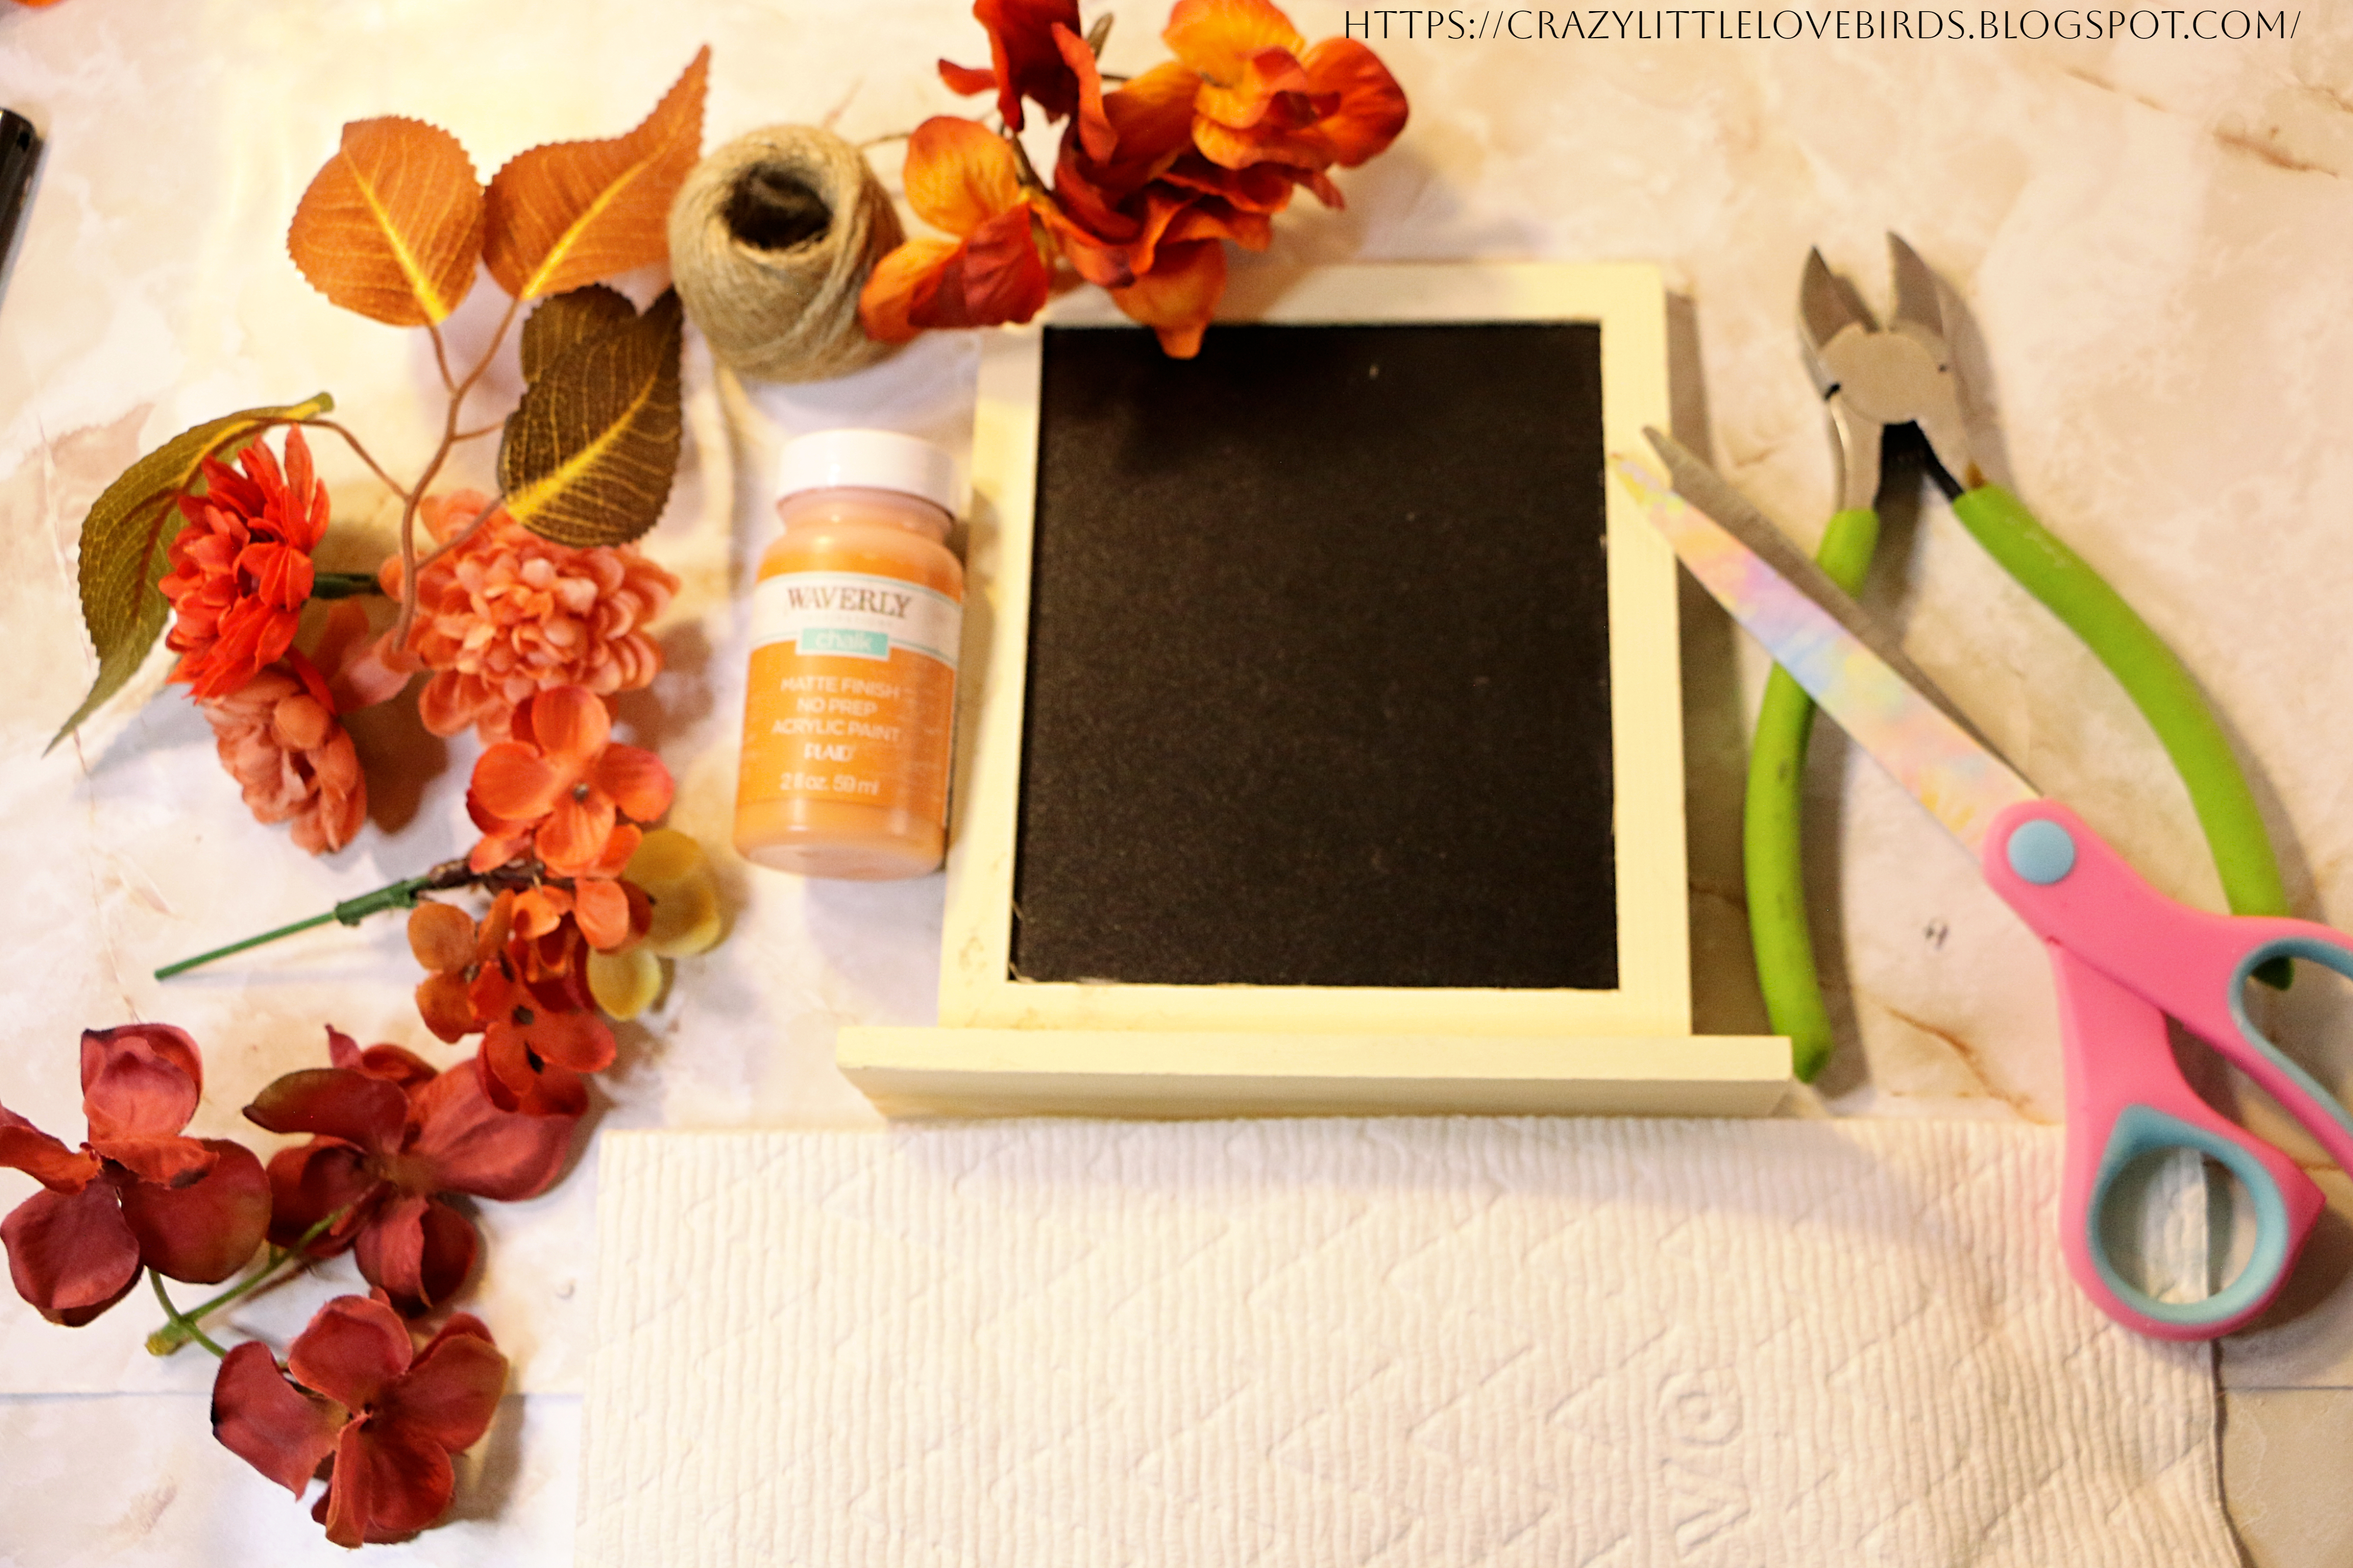
Materials
- Faux Fall floral
- Floral cutters
- One framed chalkboard-I purchased mine at Dollar Tree
- Acrylic paint
- Scissors
- Paintbrush
- Twine
Applying paint to a framed chalkboard

Pick your acrylic paint and apply it to the frame of your chalkboard using a paintbrush. I went with a color called "pumpkin" because I'm a bit obsessed with it.
Cutting faux floral and adding it to framed chalkboard

Next, use your floral cutters to remove the stems from your faux flowers. This makes it easier to attach them to the chalkboard frame. Once the stems are removed, attach the flowers to the wooden frame by applying some hot glue to the back of each flower. I added some faux fall leaves and greenery to give it a more autumnal vibe.

If you want to add a little extra touch, you can also include a twine bow to your display. I had some extra twine lying around, and I thought it would be a nice addition to my chalkboard display.

That's it! Your fall wooden chalkboard display is now complete. Wasn't that easy? I got my framed chalkboard from Dollar Tree, but you can also create your own design by using a mini chalkboard without the frame. You can also add your own frame by using smaller wood sections or craft sticks for a customized look.
Lastly, take some chalk and add a cute message to your board. Thank you so much for stopping by. See you soon!
Pin Share Save

Other fall projects you may enjoy
Chalkboards are always such fun, yours is cute. Thanks so much for linking up at the #UnlimitedLinkParty 128. Pinned.
ReplyDeleteDee, I agree. I just love mini chalkboards. Thanks so much for visiting.
DeleteThat is so cute!
ReplyDeleteJoanne, thank you. 😊
DeleteThe chalkboard is so cute Stephanie, I always envisioned having a large one in our dining room or kitchen, but it hasn't happened yet. Hope you have a wonderful weekend!
ReplyDeleteThank you, Cara! I have seen some people paint a wall in their house using chalkboard paint and put a pretty border around it. It looks very pretty. I love the idea of having a large chalkboard in the kitchen. It would be perfect for writing down recipes and other things. I hope you have a wonderful weekend too!
DeleteLove this Steph! This is such a fun fall decor.
ReplyDeleteVisiting today from Unlimited Linky 128 #9&10
Paula. Thank you. Happy to hear you enjoyed this craft.
DeleteI love how your zhooshed up this very ordinary chalk board and made it look like something special.
ReplyDeleteJulie, thank you! This was a fun creation.
Delete